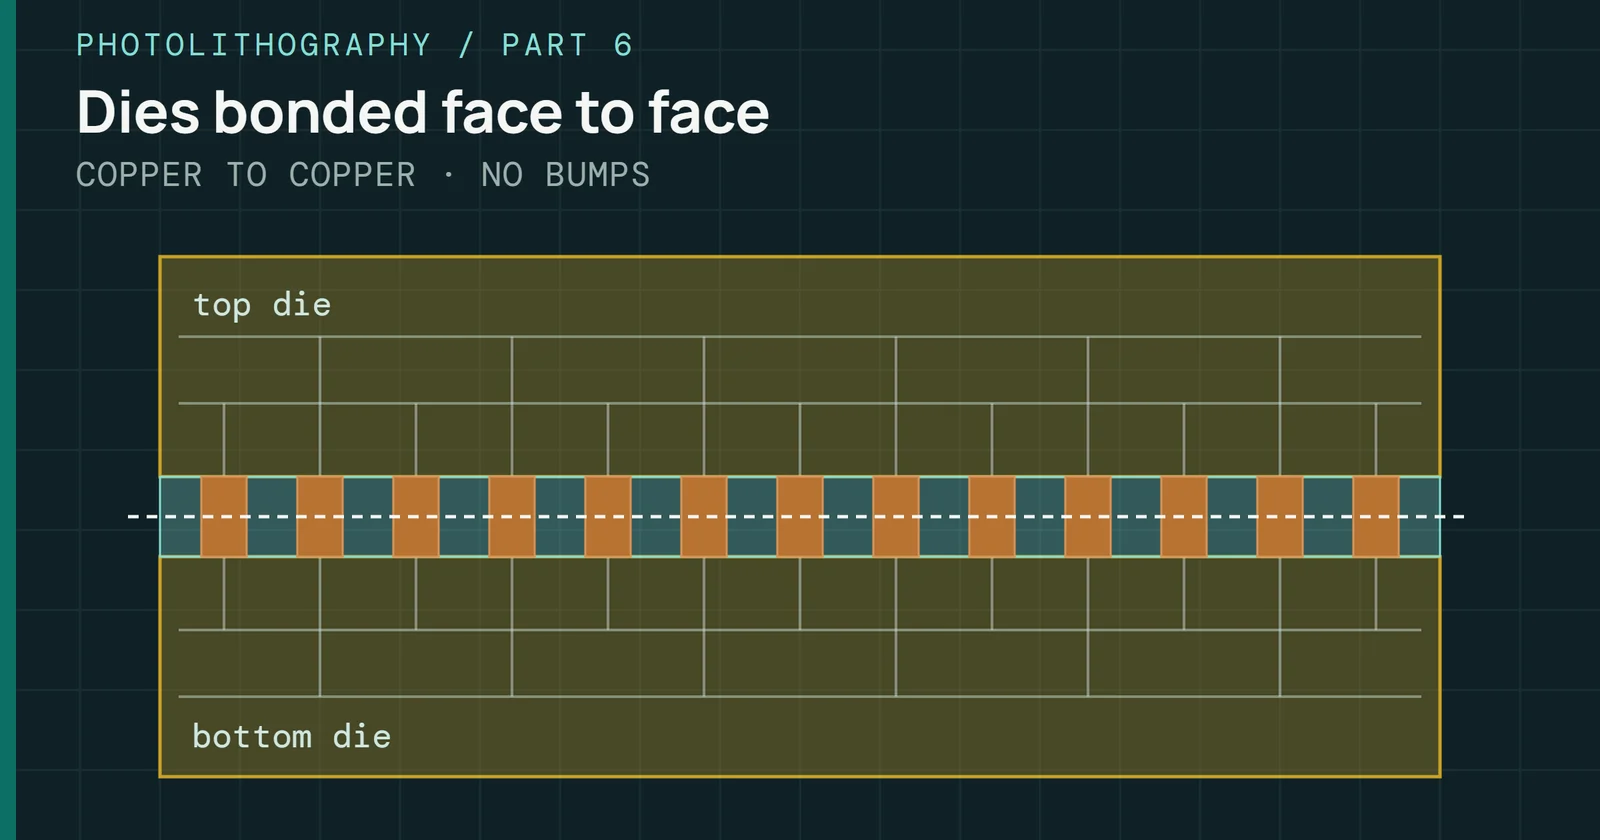
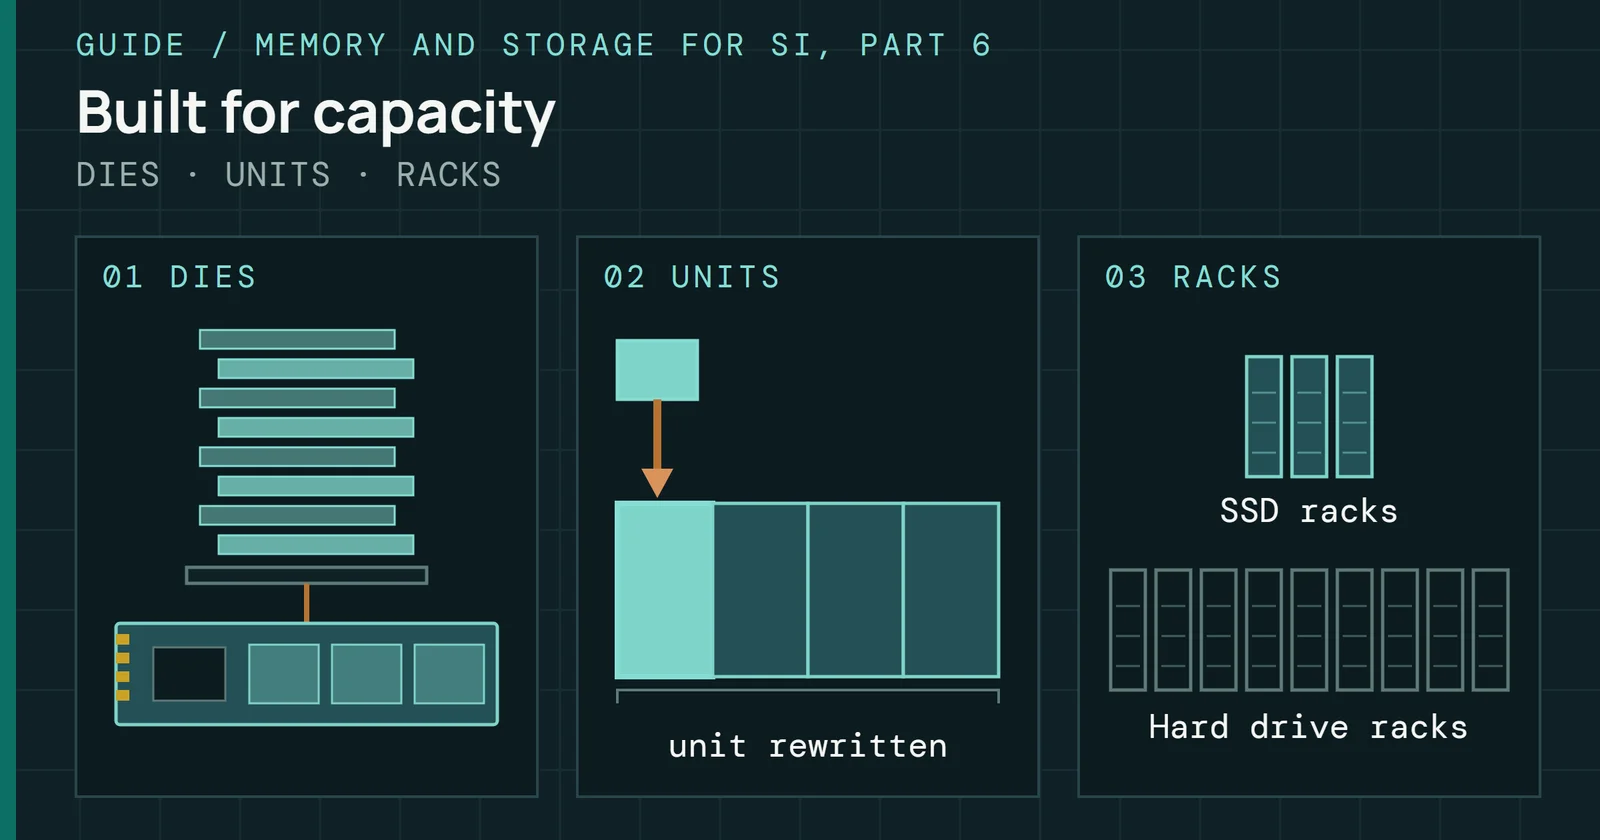
Part 3 closed its look at 3D NAND with wafer bonding. Kioxia builds the CMOS circuits and the array on separate wafers and joins them face to face. Joining silicon makes each die matter more, because a bad die on one wafer takes its good partner on the other with it. Part 3 then pointed out that a big chip is built from smaller dies joined in a package, and that each die is tested before it is joined. This part of the series asks what a factory has to prove about that die, and follows a NAND die through test from the first wafer sort to qualification and the field.
Photolithography
Photolithography, Part 4: How NAND Is Tested Before It Ships
How a NAND die is tested from first silicon to the field: wafer sorts, known good die, burn-in, final test, JEDEC qualification and ECC margining.
On this page 12 sections
A pass means within budget
A NAND die that passed every factory test is not a perfect die. Its defects have been found and repaired, mapped out or counted, and the errors that remain sit inside what error correction is expected to fix.
The budget is written into the interface. A NAND part that follows the Open NAND Flash Interface (ONFI) reports its limits in a parameter page the host reads before it uses the part. Four fields carry the contract: the maximum number of bad blocks per logical unit (LUN), counted at manufacture and over the life of the part; the rated program/erase (P/E) cycles per block; how many blocks from block 0 up are guaranteed good; and how many bits the host’s error-correcting code (ECC) must correct in each 512-byte codeword. ONFI 5.2 attaches the same condition to the first three, and they hold only if the host meets the ECC requirement in that page.
A pass means within budget
Three ONFI promises hold only while ECC corrects enough bits
ONFI parameter page: what the part promises
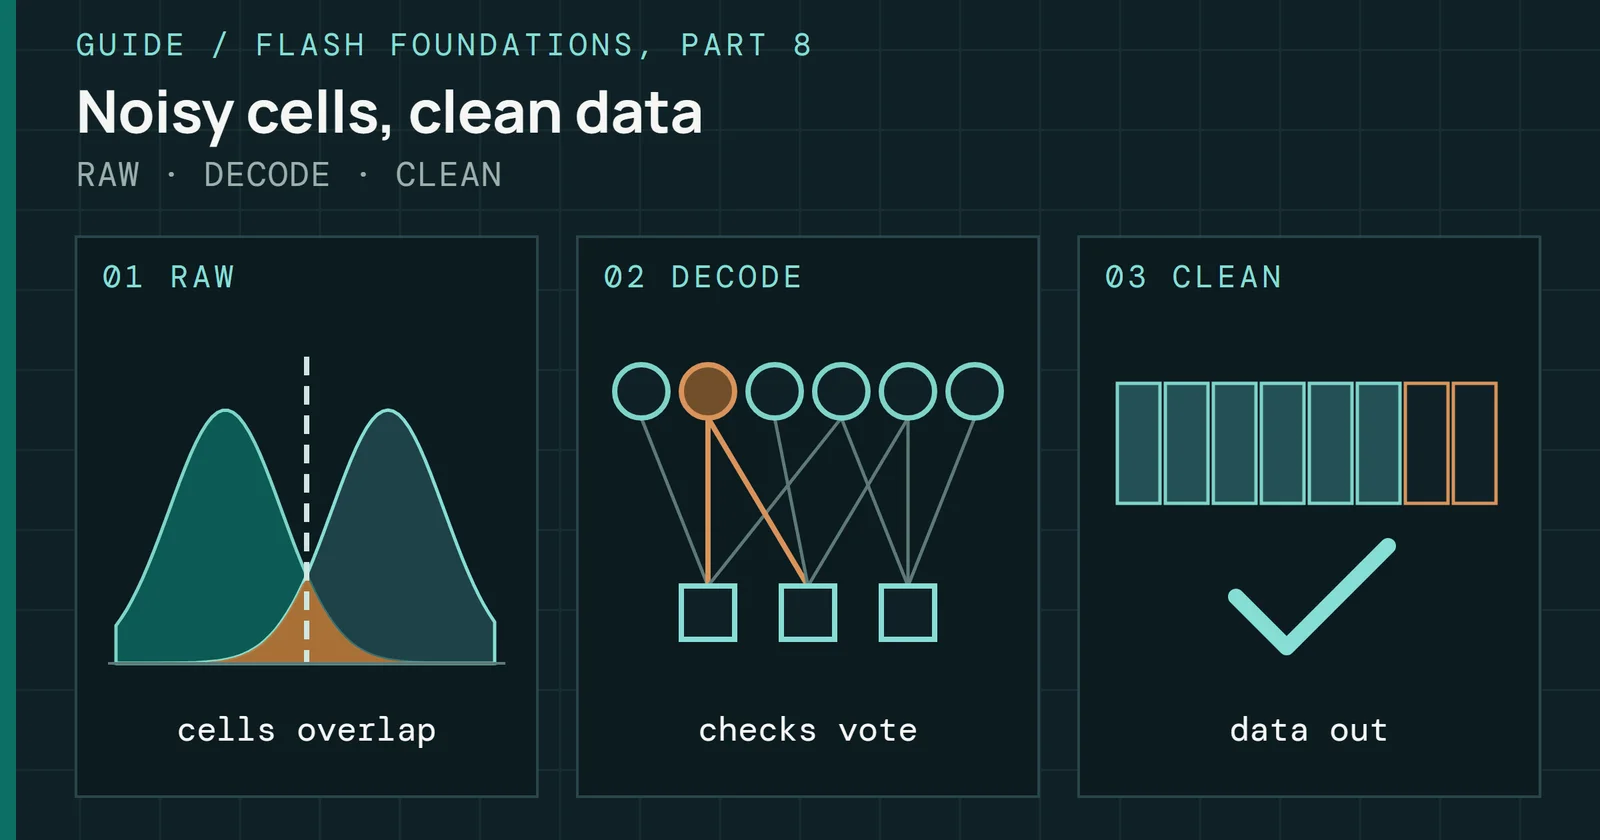
So a part that meets its datasheet is a part that meets it behind ECC. Even a single program operation works this way. When a page is programmed, the die steps the voltage up in pulses and checks after each one whether every cell has reached its target. A design known as pseudo pass lets the die report success while a few bits still fail, as long as the count stays inside a limit the ECC can handle. One published planar-era design lets the die pass a program step with one to four cells still failing, which its source treats as few enough for ECC to correct. Part 8 of Flash Foundations covers what the ECC does with those bits afterward.
Every test in the rest of this article measures a part against that kind of budget. Some run on every die, some on a few hundred samples once per product, and some only start after a drive has been in service for years.
From first silicon to the field
A NAND product is tested in three phases. During first silicon, engineers use special test modes to characterize the array and its circuits, and test time hardly matters as long as they can reach the memory. During ramp-up, the test flow reaches full coverage, redundancy repair is switched on and dedicated testers come in. In production, the work turns to cutting test time and raising yield.
Two kinds of testing run through those phases, and they answer different questions. Characterization and qualification run on samples of a few lots and a few hundred parts, once per product or process change. Production test runs on every die that goes out the door. Its front end runs on the wafer and is called electrical wafer sort (EWS), and its back end runs on packaged parts and is called final test. Burn-in sits between assembly and final test, and some products are tested again on their module.
From first silicon to the field
Samples set the limits and production tests every die
Temperatures are the ranges one published flow gives, not one vendor’s recipe
Characterization finds where the cells and circuits sit and how fast they drift. Qualification proves that sample lots survive their rated stress. Production then screens each die against limits drawn from both, and published field studies show what the factory flow did not catch. Both the flow and its temperatures come from published planar-era material and from the JEDEC standards, so they are examples and say nothing about a current vendor’s recipe.
The scale explains the cost pressure. A block rated for 10,000 cycles needs charge pumps that may, in the worst case, run 10,000 cycles times the number of blocks in the array, and production has to hold that reliability from lot to lot. In the planar era, leading-edge NAND could take days to test, and test time grew with capacity. Cutting it is one of the main goals of the test circuitry designed into a NAND die.
Wafer sort: find, trim, repair
Most of the work happens on the bare die. In one published planar-era design, about 70% of the die was the memory array. Together with the row decoders and page buffers, the array used the most aggressive design rules on the chip, so most of the test effort goes there.
The first sort (EWS1) runs its steps in order. It starts with contact and DC checks and page-buffer tests, then early cycling, erase preconditioning and read, and early defect detection. Next come a programmability test and a pass-voltage test, then stress tests meant to activate latent defects, and checkerboard and inverse-checkerboard patterns. It closes with a redundancy summary and fusing, then preconditions the wafer for the bake.
Analog circuits need their own access. Reaching the internal band-gap circuit is the main job of a low-voltage test pad. Trimming the band-gap is a fundamental step, because it provides a reference voltage for almost every other analog signal in the NAND memory. On one published design, the band-gap voltage is 1.25V. Through a test pad, the most important regulated voltages can be measured and trimmed as well. A second pad reaches the high-voltage regulators, which run 16V to 24V for the program pulse on the selected wordline and 4V to 11V to inhibit the unselected ones. If the tester can measure at most 15V, a higher voltage such as the program supply VPP cannot go straight to the test pin, and only a fraction of it can be tested. The trim values are stored in on-die fuses.
Parallelism is the next problem. In a two-bit test mode, a die needs two tester pins for data instead of eight, so one tester can contact many more dies at once. Probe cards can test a whole 300mm wafer in a few touchdowns or even one, but tester resources that track repair needs remain the limit. Transfer time is the cost. With fewer data pins, moving data between die and tester takes longer, twice as long going from a byte-wide to a nibble-wide bus. Test modes that accumulate fails during verify win it back, because the tester downloads a fail count instead of the whole page. Programming time varies from chip to chip, so with many dies in parallel the tester has to wait for the slowest one before each next step.
The defects found at sort fall into two groups, and the group decides the repair.
Wafer sort: find, trim, repair
Column faults are repaired; row faults cost the whole block
Shorts between bitlines and open strings are fixed with column redundancy. Spare columns sit on the die, and the fuse table tells it to use a spare every time a defective bitline is addressed. Wordline shorts and bitline-to-wordline shorts cannot be fixed that way, because NAND has no row redundancy. A wordline fault makes its whole block bad.
Most bad blocks show up at the first touchdown, where the larger defects are found. During the first wafer-level test the tester collects the bad-block map, and at the end of that flow it supplies the fusing data that is stored permanently in the die. During the second sort, the die keeps adding newly found bad blocks to the map in its own volatile registers. A spare or standard block can be set aside to hold the bad-block table. That block is marked bad, so the customer never uses it, and every later test step updates the table in it. The aim is to fuse only once, which saves test time.
The host reads bad blocks in a standard form. ONFI 5.2 requires a factory-defective block to carry 00h in the first byte of the defect area of its first or last page. Before it erases or programs anything, the host checks both pages of every block and builds its own bad-block table from them. That same section warns that the marks may change over the device’s life, so the host is expected to read them during initial use. It names read disturb in the defect area of a bad block as the cause. Flash Foundations Part 6 covers how SSD firmware keeps that table and routes around the blocks.
Good wafers, the ones whose redundancy use and bad-block counts stay under set limits, move on to the bake.
Yield, spares and the known good die
One published lot shows where dies go. Of 137,376 dies tested, 119,888 passed, a yield of 87.27%. For the sake of the example, the source treats two of the failing bins as redundancy tests. One failed 1.77% of the dies and the other 1.56%, so on that reading 3.33% of the lot was lost because those dies needed more spare columns than they had.
Yield, spares and the known good die
87.27% of one lot’s dies were good
The other 9.40% failed every other bin combined. A second example in the same source tracks a flow that runs its redundancy test 40 times. Tests 5 through 25 left the number of surviving dies flat, because the spares were absorbing every new defective bitline. One later test failed 67% of the dies and pushed spare use up sharply at the same time. Data like that tells a fab which test is finding a real weakness, and where in the die the spares run out.
More spare columns save more dies, but they cost die area and fuse area on every die, good or bad. Column redundancy takes up about 90% of the fuse area in one published design, which is one reason designs move redundancy data out of fuses and into a reserved block of the array that the die reads at power-on.
Stacking raises the stakes. A stacked package’s yield is the product of the yields of the dies inside it, so every test that moves from the packaged part back to the wafer saves the cost of packaging a bad die. High-temperature tests and even burn-in became possible at wafer level. Known good die (KGD) testing takes that furthest. The maker runs extra tests on the wafer and sends the whole wafer on with its fail map, so only good dies get stacked. Two parts are hard: speed tests, which usually run on packaged parts, and accurate thermal tests on the wafer.
Yield, spares and the known good die
Untested 16-die stacks would yield 11.3% good packages
A calculation, not a measurement: package yield = die yield multiplied n times
Real dies are sorted, repaired and binned before stacking, which is how flows avoid this case, and the product rule is the reason they do. It bites hardest on designs that bond whole wafers together. A wafer-to-wafer bond cannot leave a bad die out, so a bad die on one wafer takes its good partner on the other with it. Bonding single dies onto a wafer avoids that, because a bad die can be sorted out before it is joined to a good one.
Assembly: from wafer to package
Sorting ends on the wafer, and the dies that pass still have to become parts. In Rapidus’ account of the back end, chips are separated, connected to a substrate, packaged and inspected. A dicer cuts the wafer into dies with diamond saw blades or lasers, at micrometer accuracy, and each good die is then bonded to a package substrate.
Assembly: from wafer to package
A sorted die becomes a marked package in four steps
One die in cross-section, on one baseline; dashed parts come later
Rapidus’ mainstream case is flip-chip, where the die is turned over onto bumps, and it calls wire bonding with fine metal wires the method that was once common. Stacked NAND dies are the wire-bonded case, which is how Toshiba described stacked NAND before its through-silicon-via stack, and the figure draws that case for one die. Flash Foundations, Part 3 compares the ways stacked dies are connected. In Amkor’s thin wire-bonded ball-grid package, the height of the solder balls leaves so little room that the die has to be thinner and the wire loops very low to fit under the mold cap.
Molded parts then go through burn-in, electrical tests and reliability tests to screen out defects, and the good ones are laser-marked and shipped. In Rapidus’ telling those tests belong to the back end, and the back end is often run by outsourced semiconductor assembly and test (OSAT) companies rather than by the chipmaker.
Bake and burn-in: buying time with heat
The bake and burn-in both use heat to make slow failure mechanisms show up sooner, and that limits what they prove.
The bake sits between the two wafer sorts. It holds the wafers between 150°C and 250°C to bring out retention failures from mechanisms with an activation energy above 0.6eV. Second sort (EWS2) then repeats the contact and DC checks, reads back what the first sort wrote, checks the decoders with a diagonal pattern, runs a basic user-mode test and does a final redundancy summary and fusing.
Burn-in comes after assembly. It usually runs at about 125°C in ovens loaded with as many parts as possible, and is built from repeated program, verify and erase cycles with extra stress on the supply, the wordlines and the bitlines. Its targets are metal and contact shorts, intrinsic defects, and what the package added, which is mechanical stress from temperature cycling and damage to the upper metal layers from filler particles in the mold compound. Burn-in pairs well with built-in self-test (BIST), where each die runs the flow on its own and the oven reads them all out after a timeout.
The acceleration factor multiplies stress hours into use hours. A worked example from a published test flow uses two models. Temperature follows the Arrhenius model with an activation energy of 0.8eV, so 125°C against 70°C use gives a factor of 42. Voltage is exponential with β = 9 per volt, so 3.6V against 2.8V is 0.8V of overstress and gives e to the 7.2, about 1,340. The source prints that factor as 1.340, which means 1,340. Multiplied by the 42, it gives 56,280, so one hour of burn-in stands in for about 56,000 hours of use, a little over six years.
Bake and burn-in: buying time with heat
Voltage supplies most of burn-in’s 56,280 acceleration
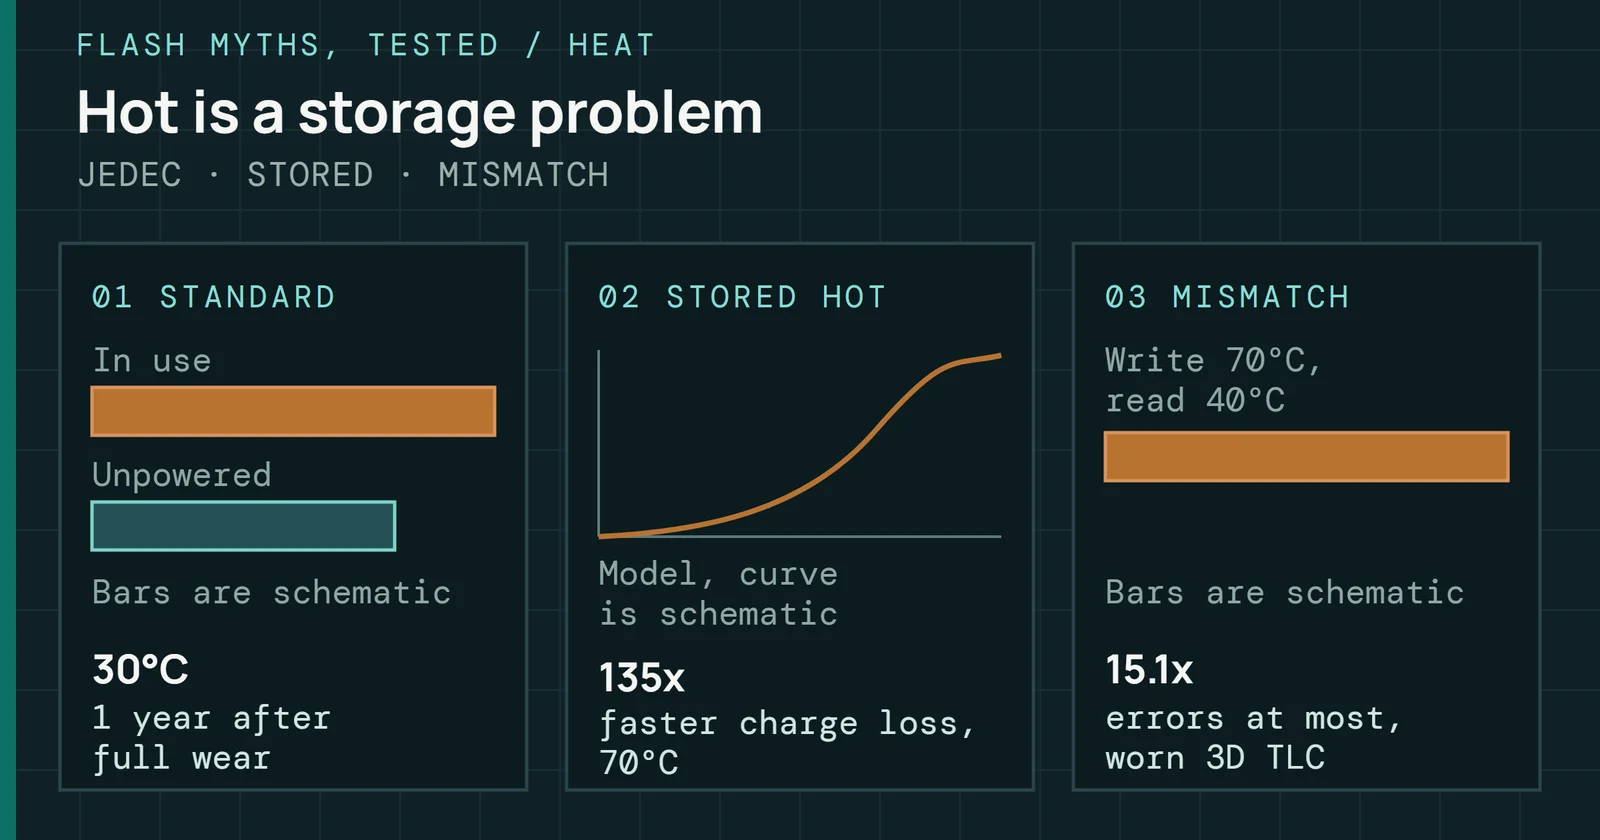
Voltage does most of the work, which is why the same source suggests moving voltage stress to wafer level where it can and keeping burn-in focused on the package. The retention-bake bars come from a different question. The retention bake in JESD47 assumes 1.1eV to 1.2eV for charge leaving the dielectric, so 125°C against 55°C use gives 939 to 1,750. Of the two, 0.8eV belongs to a screen for weak parts and 1.1eV to a test of how long good parts hold data, so neither can stand in for the other. Flash Foundations Part 8 covers the retention side.
Not every product gets burn-in. It is expensive, and the decision follows the defect target. For USB drives and memory cards, a published example target is about 2,500 defective parts per million (dppm), loose enough that ECC and bad-block handling cover small defects, and the use is mild, so cards can go out without it. SSDs put many dies behind one controller and promise a higher mean time between failures, so their defect target is lower and burn-in is recommended.
Final test, binning and the die’s ID
Final test runs on packaged parts at low and high temperature, according to the grade the part is meant to meet. It measures leakage, standby and operating currents. It also runs functional and retention checks at the edges of the supply voltage range, runs dedicated checks on design and process stability, and catches faults the assembly step introduced. At high temperature it measures the AC timing that sets the part’s speed grade. By the time it finishes, every part has a record.
Final test, binning and the die’s ID
Each test step adds to one record, which sorts the part
What each step adds to the record
Chip IDs are read and stored with the measurements, so a single part can be traced back to its lot and its results feed yield analysis. ONFI gives the host a related hook. The Read Unique ID command returns a 16-byte ID that is unique when combined with the manufacturer.
Parts are then sorted. Speed grade is one axis. Bad-block count is the other. A common approach for storage NAND is to sell dies with some bad blocks and sort them into classes by how many failed, with a guaranteed maximum for each class. Some products hide the bad blocks by swapping in spare blocks, and others offer extra spare blocks as added capacity. Flash Foundations Part 3 covers how those grades show up in the drives people buy.
Measuring the cells in characterization
Before any of those limits exist, someone has to measure the cells. Characterization is first-silicon work. It maps where each programmed state sits, how wide it is, and how it moves with wear, retention time, reads and temperature. Its results set the read reference voltages and the limits the production flow screens against.
The measurement uses a feature every modern NAND die already has. Cai and colleagues characterized triple-level cell (TLC) chips on a test platform built around a field-programmable gate array (FPGA), using the die’s read-retry operation to step the read reference across the voltage window and read the threshold voltage (Vth) of each cell. Absolute voltages are proprietary, so they published normalized values, where 0 is ground and 512 is the nominal top of the window. TLC packs eight states into that window, with neighboring state means about 64 units apart. Single-level cell (SLC) operation puts two states in the same range, which leaves much wider gaps between them.
Measuring the cells in characterization
The erased state drifts toward the first programmed state
The erased state moves the most. Its mean climbs from −110.0 on fresh cells to −84.1 after 3,000 P/E cycles, while the first programmed state widens from a standard deviation of 9.0 to 10.2 units. Tunnel-oxide wear explains both, per the paper. As the oxide degrades, the same program conditions inject more electrons, so the states shift right and spread out. Data like this decides how far a read reference may move before it reads the wrong state, and so how many cycles a part can be rated for at a given ECC strength. Flash Foundations Part 3 explains the read window that this drift consumes, and Flash Foundations Part 8 the mechanisms behind it.
Retention loss and read disturb can be measured the same way, one stress at a time.
Qualification: the stress tests a product must pass
Characterization describes a die. Qualification proves that a product survives its rated stress with zero failures across sample lots. For integrated circuits the reference is JEDEC JESD47 (revision F here), which sets the stresses, the sample sizes and the pass criteria.
General tests apply to any chip. High-temperature operating life (HTOL) runs 3 lots of 77 units for 1,000 hours at a junction temperature of 125°C or more and at or above the maximum supply voltage, with 0 failures allowed. Early-life failure rate (ELFR) runs at the same temperature for 48 to 168 hours and aims at the failure rate in the first several months or year of operation. Non-volatile memory adds three linked tests on top of these, and ELFR hits the same early-life population that burn-in targets.
Qualification: the stress tests a product must pass
JESD47 wears devices first, then tests their retention
Non-volatile cycling endurance (NVCE) cycles 3 lots of 77 units to the maximum rated count. A large memory cannot cycle every block that far in reasonable time, so the standard allows 500 hours of cycling with blocks taken to 1%, 10% and 100% of the rating in a 100:10:1 ratio, and at least one block per device all the way. Half the devices cycle at room temperature and half at 55°C or more. From there, the hot half moves on to high-temperature data retention (HTDR). Under the 125°C option (a 100°C option uses 96 and 1,000 hours), blocks cycled to 10% or less must hold data for 100 hours and fully cycled blocks for 10 hours. As an example, JESD47 works those bakes out to 11 to 20 years and 1 to 2 years at 1.1eV to 1.2eV and 55°C use, and notes that they do not prove retention for any particular use.
Meanwhile the room-temperature half goes to low-temperature data retention (LTDR), which runs 500 hours at 25°C with reads on every address. It targets mechanisms a bake would miss because heat leaves them unaccelerated or undoes them, such as stress-induced leakage current (SILC).
Cycling speed is its own trap. Some cycling damage partly recovers between cycles in real use, so cramming the full count into hours lets trapped charge build up and causes early failures that real use would not. JESD22-A117 (revision E here) lets a supplier insert delays between cycles, and JESD47 caps the delays plus the cycling at 500 hours at 85°C, 96 hours at 100°C or 10 hours at 125°C. A stress result is only meaningful next to the conditions it ran under.
ECC margining shows how much budget is left
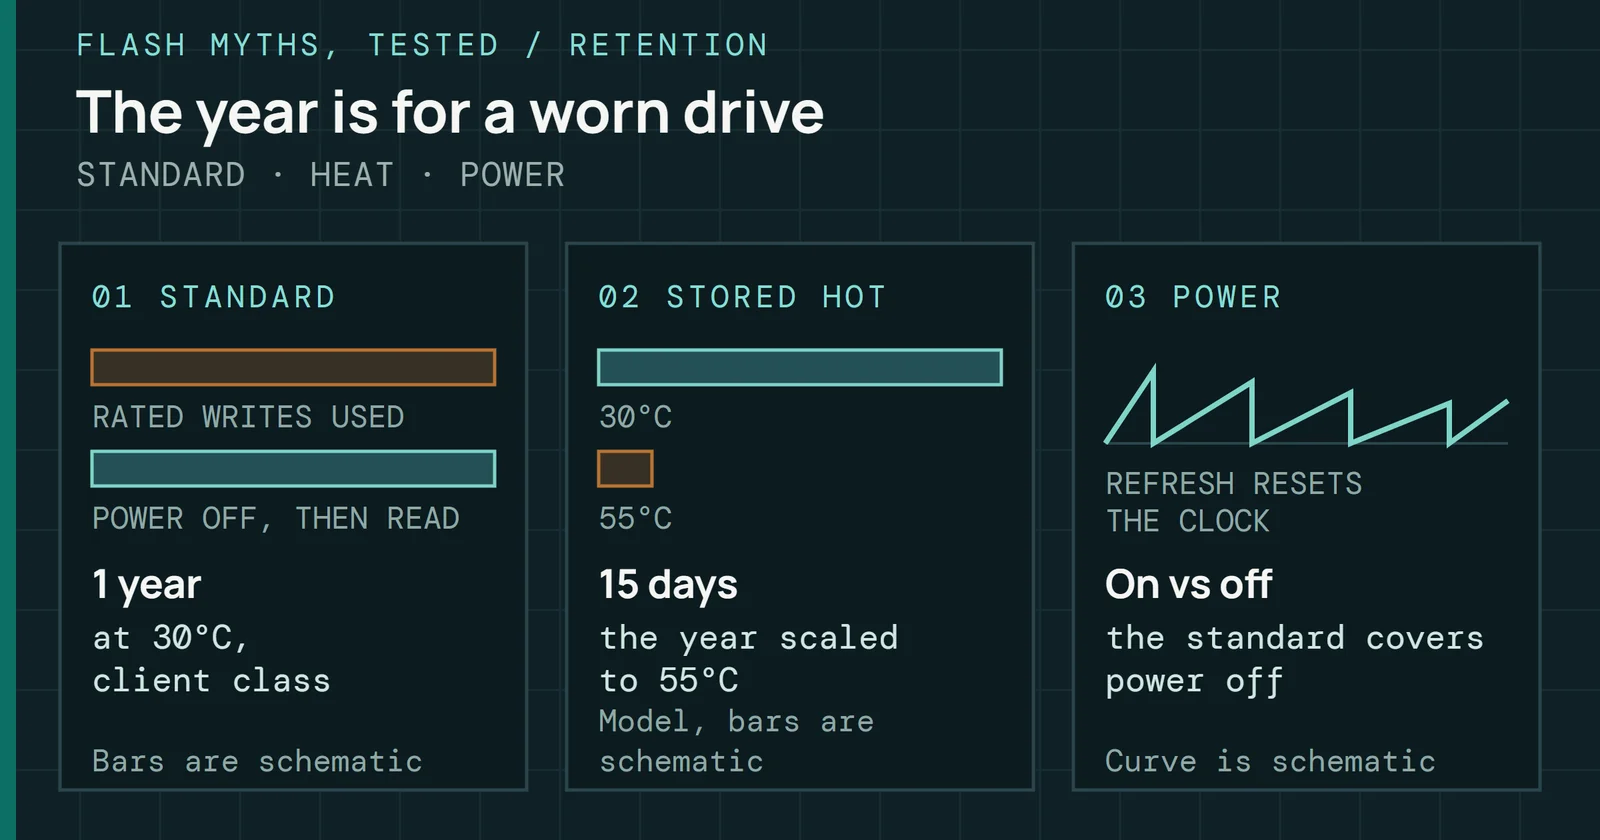
The component tests end at the die. A drive is held to a different number. That number is the uncorrectable bit error ratio (UBER) after ECC. JEDEC JESD218, as laid out in a JEDEC presentation by Seagate’s Alvin Cox, sets it at 10⁻¹⁵ for client drives and 10⁻¹⁶ for enterprise drives, with a 3% functional failure requirement over rated life and power-off retention of 1 year at 30°C for client and 3 months at 40°C for enterprise. ECC margining ties the die’s raw error rate to that target. At the end of rated life, the raw bit error rate (RBER) has to sit under the code’s limit with room to spare.
Cai and colleagues’ survey in the Proceedings of the IEEE works one example with two codes of nearly the same rate, a Bose-Chaudhuri-Hocquenghem (BCH) code at 0.935 and a low-density parity-check (LDPC) code at 0.936.
ECC margining shows how much budget is left
A drive at its rated-life cap still has reliability margin
BCH holds the 10⁻¹⁶ target up to an RBER of 1.0×10⁻³. LDPC does about the same with a single hard read, but with soft reads it holds up to 5.0×10⁻³ on the authors’ extrapolation. Rated life is capped in the example at 2.0×10⁻³, the point where soft decoding is needed on no more than 0.01% of codewords, which costs up to about 0.28% more reads. Between 2.0 and 5.0×10⁻³ lies what the authors call the reliability margin. A drive at the end of its rated life still returns data, only more slowly. Flash Foundations Part 8 covers the retries and soft reads behind it.
Component qualification checks the same budget from the die side. A die rated for a cycle count with a stated ECC must, after that many cycles and a retention bake, show no failures beyond what that ECC corrects. Proving the same at drive level directly would mean writing a drive’s full rated endurance at both high and low temperature and then proving retention, which can take more than 1,000 hours. JESD218 therefore allows extrapolation from an accelerated workload, from failure and bad-block trends, from reduced-capacity drives or from component data. Extrapolation needs knowledge of the components and information normally available only to the drive’s maker. Retention is checked for a 1.1eV mechanism and for one that heat leaves unaccelerated, and every requirement is set at 60% statistical confidence.
Field data and returns
No factory flow catches everything, and drives in service are the largest test population there is. Two large published studies show what that population adds to the factory’s view.
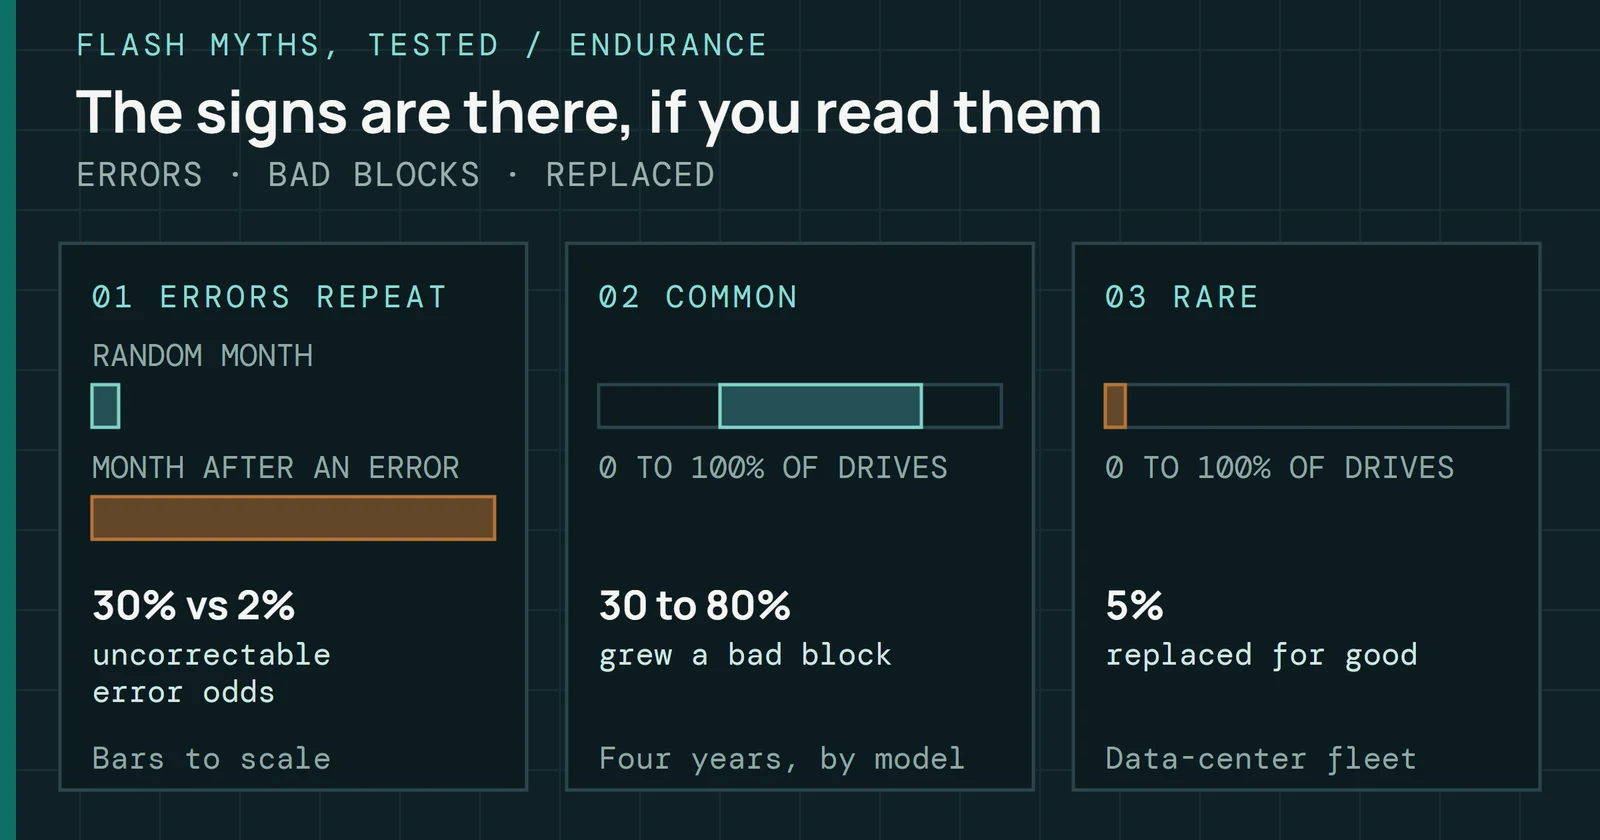
Schroeder and colleagues followed ten drive models in Google’s fleet for up to four years. Nearly every drive shipped with factory bad blocks, 97.0% to 100% depending on the model, and many grew more in service.
Field data and returns
From 30.7% to 91.5% of drives grew new bad blocks
Across models, the share of drives that developed at least one new bad block in the field ranged from 30.7% to 91.5%, with no clean split between SLC, multi-level cell (MLC) and enterprise MLC (eMLC) models. Bad blocks also came in clusters. After only two to four, there was a 50% chance that hundreds would follow, and 2% to 7% of drives lost a whole chip. One finding ties back to the factory. Drives above the 95th percentile of factory bad blocks were more likely to grow new bad blocks and to see final write errors than an average drive of the same model. Factory counts predict later trouble as well as listing blocks to skip.
Meza and colleagues found the time shape in Facebook’s fleet. Failure rate against data written did not follow the bathtub curve that burn-in is built around. It rose first, then fell, then rose again with wear. The authors argue that two pools of blocks explain the first rise. A weaker pool fails early and the controller retires it, then the stronger pool carries the drive until it wears out. On 720GB and 1.2TB drives the early-detection period ended near 3TB written, and on 3.2TB drives near 10TB. The early-failure period after it ended near 15TB on the 720GB drives, 28TB on the 1.2TB drives and 75TB on the 3.2TB drives.
That is the population a return comes from. Back at final test, the logged chip ID ties a failed part to its lot and its own stored test results. What each maker does next, the failure analysis and the corrective action, is not in the public sources this article uses, so it stops at the trace.
What testing can and cannot tell you
A factory flow is built to find defects and weak parts, and the yield and field numbers show how much it catches.
What testing can and cannot tell you
No single step is built to find everything
Burn-in screens for early failures and measures nothing about wear-out. The bake between the sorts screens too, and it falls short of a retention qualification. Qualification proves a product on sample lots, once. Final test checks one part against its datasheet and says nothing about that part working with a particular controller, firmware and host.
That last check is a separate job, done after the parts are on a board. How I Made SSD Validation Repeatable shows what it looks like at the drive level. It runs the same steps, in the same order, on every unit, with every result checked. Each limit above marks a question that only a drive-level test can still answer.
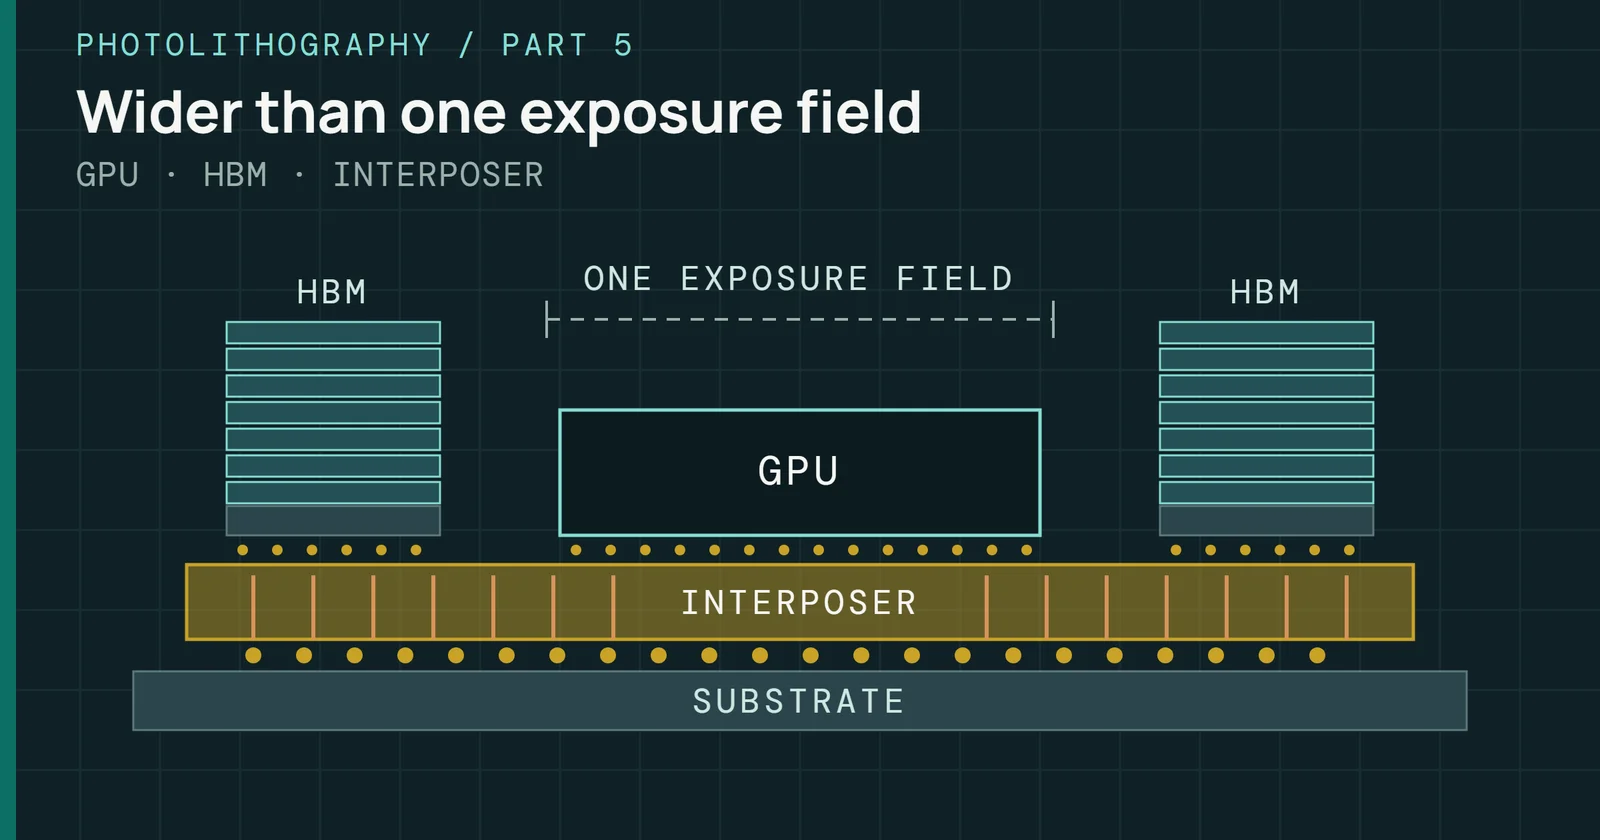
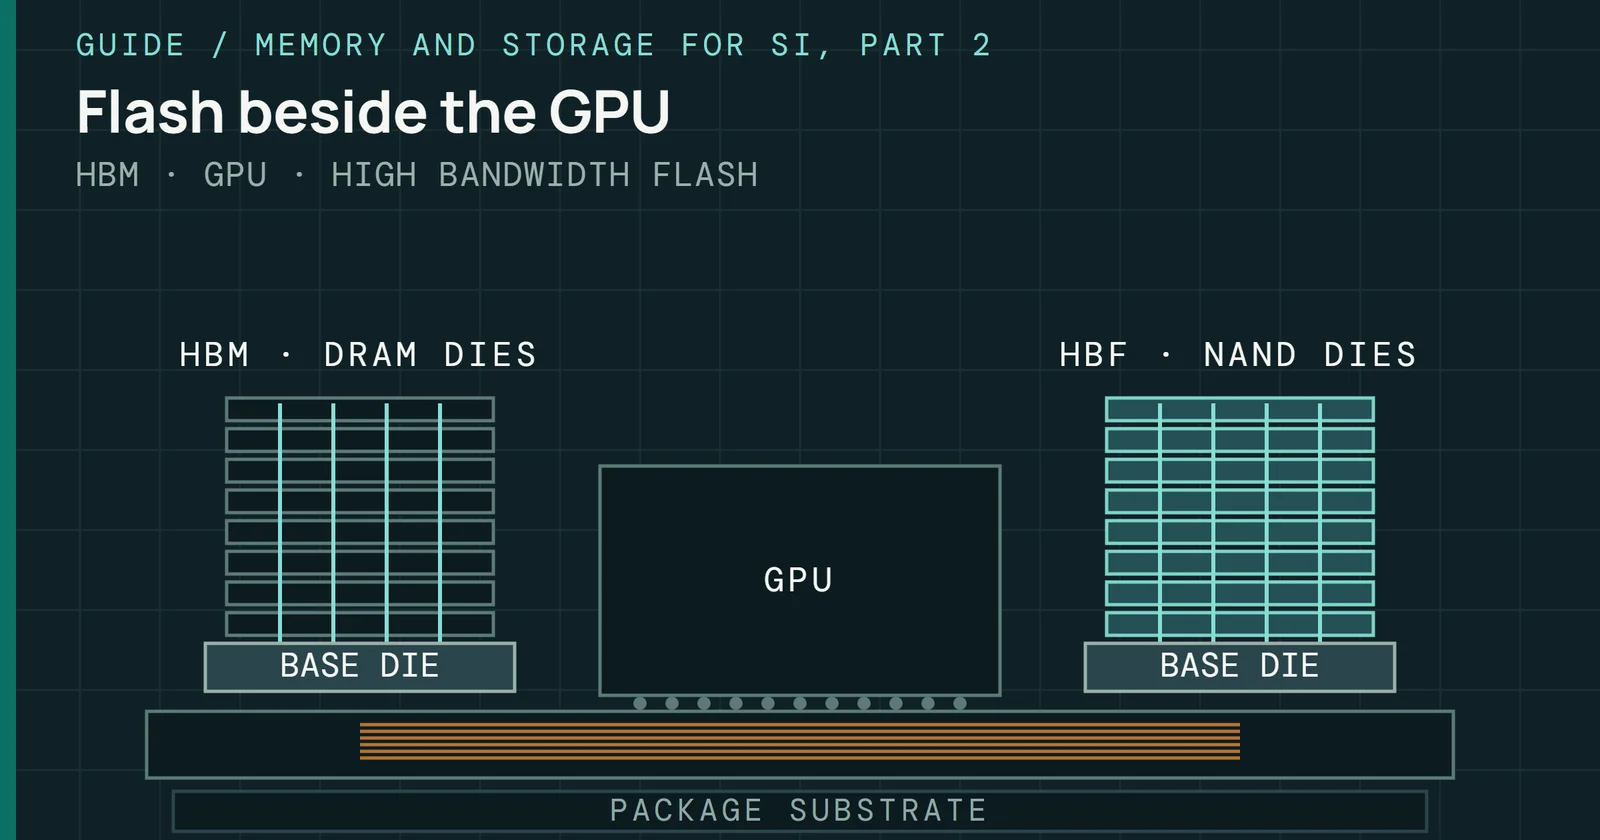
Packaging comes next. Part 5 starts with CoWoS, where an accelerator and its HBM stacks share one package, so the product rule above applies to every die inside it.
Sources
Primary is the original paper, standard or datasheet. Secondary is a review, a vendor summary or a news report. Measured is my own test data.
Show all 14 sources, 14 primary
- PrimaryUS7434111B2: Non-volatile memory system having a pseudo pass functionGoogle Patents, 2005
- PrimaryJESD47F Stress-Test-Driven Qualification of Integrated Circuits (Revision of JESD47E, January 2007)JEDEC, 2007
- PrimaryInside NAND Flash MemoriesSpringer, 2010
- PrimaryA Large-Scale Study of Flash Memory Failures in the FieldACM SIGMETRICS 2015, 2015
- Primary3D Flash MemoriesSpringer, 2016
- PrimaryFlash Reliability in Production: The Expected and the UnexpectedUSENIX FAST ’16, 2016
- PrimaryError Characterization, Mitigation, and Recovery in Flash-Memory-Based Solid-State Drives (reading-order text of the saved PDF)Proceedings of the IEEE, 2017
- PrimaryWire-Bond CABGA: A New Near Die Size Packaging Innovation (X2FBGA)Amkor (Y. Choi), 2017
- PrimaryJESD22-A117E Electrically Erasable Programmable ROM (EEPROM) Program/Erase Endurance and Data Retention Stress Test (reaffirmed October 2024)JEDEC, 2018
- PrimaryONFI 5.2 specificationONFI, 2024
- PrimaryThe Semiconductor Back-End Process Explained: A Complete Picture of Product PackagingRapidus Corporation, 2025
- PrimaryError Characterization, Mitigation, and Recovery in Flash-Memory-Based Solid-State Drivesopen copy
- PrimaryJEDEC SSD Specifications Explained: JESD218 and JESD219 (Alvin Cox, Seagate)JEDEC
- PrimaryToshiba Develops World’s First 16-die Stacked NAND Flash Memory with TSV TechnologyKioxia Singapore Pte. Ltd.