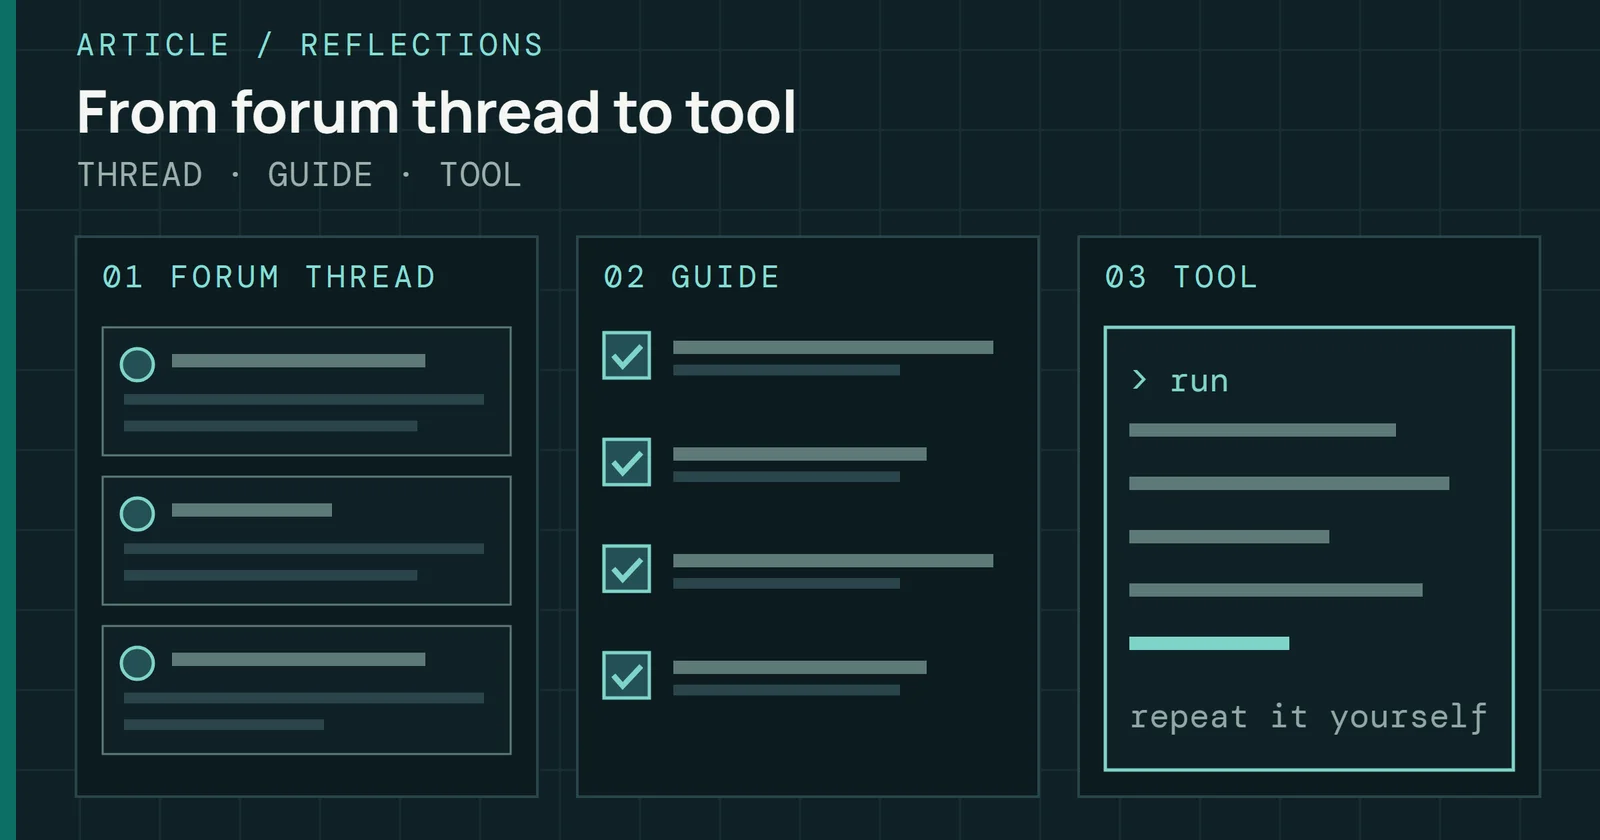
I ran quality at an SSD company, and I built one test plan that every drive, enclosure and firmware revision had to pass through in the same order. This article walks through that plan, from the folder layout and phase markers to the write-saturation runs, power capture and the report each run had to fill in.
Validation and Methods
How I Made SSD Validation Repeatable
How I turned SSD validation into a repeatable process: fixed phases, write saturation with idle recovery, power capture, and a report each run had to fill in.
On this page 13 sections
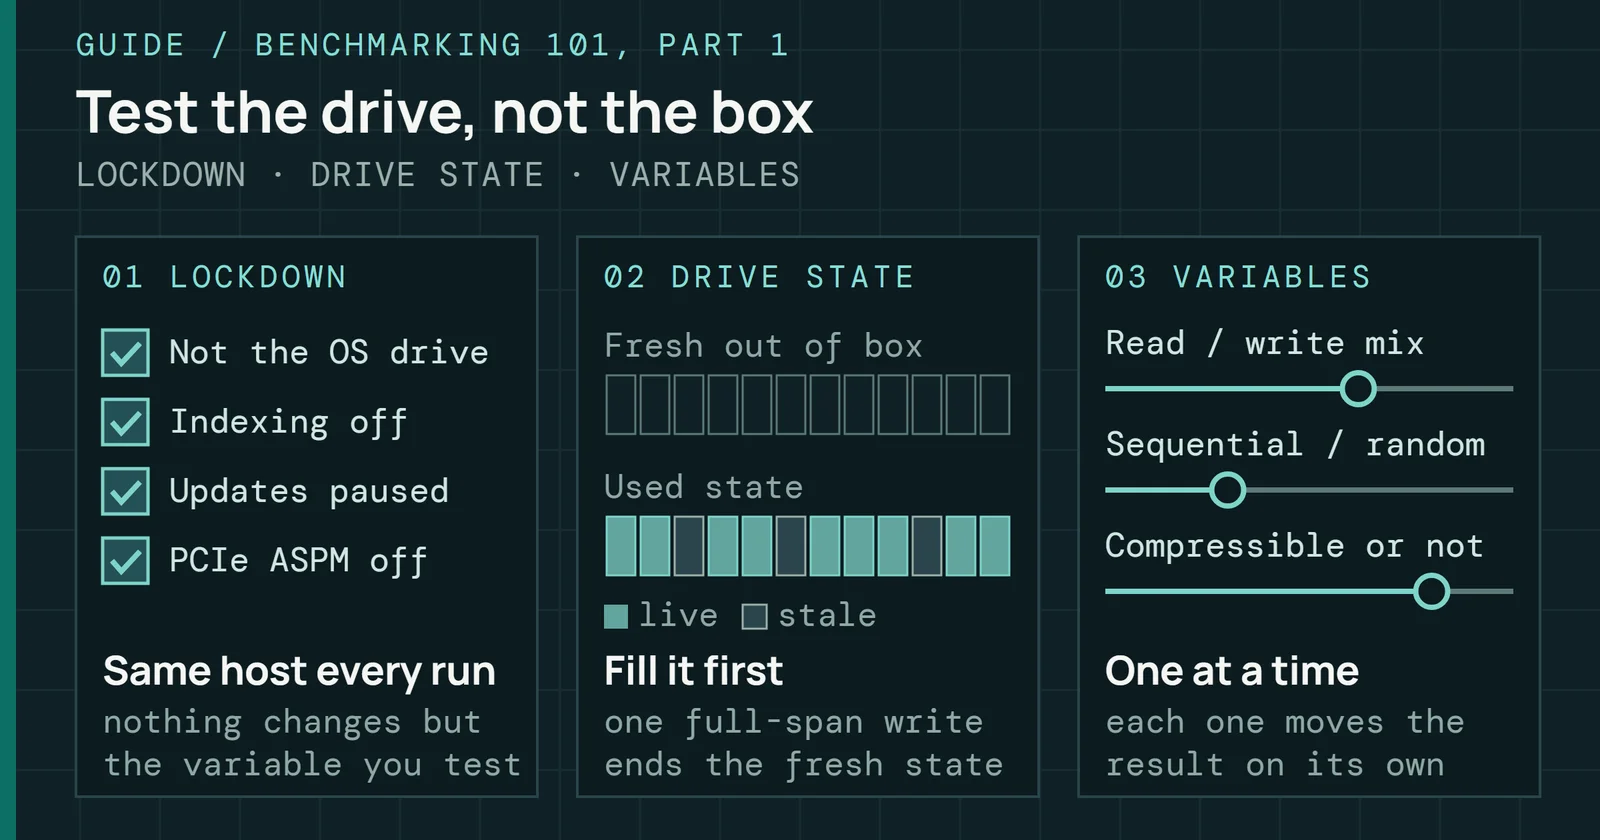
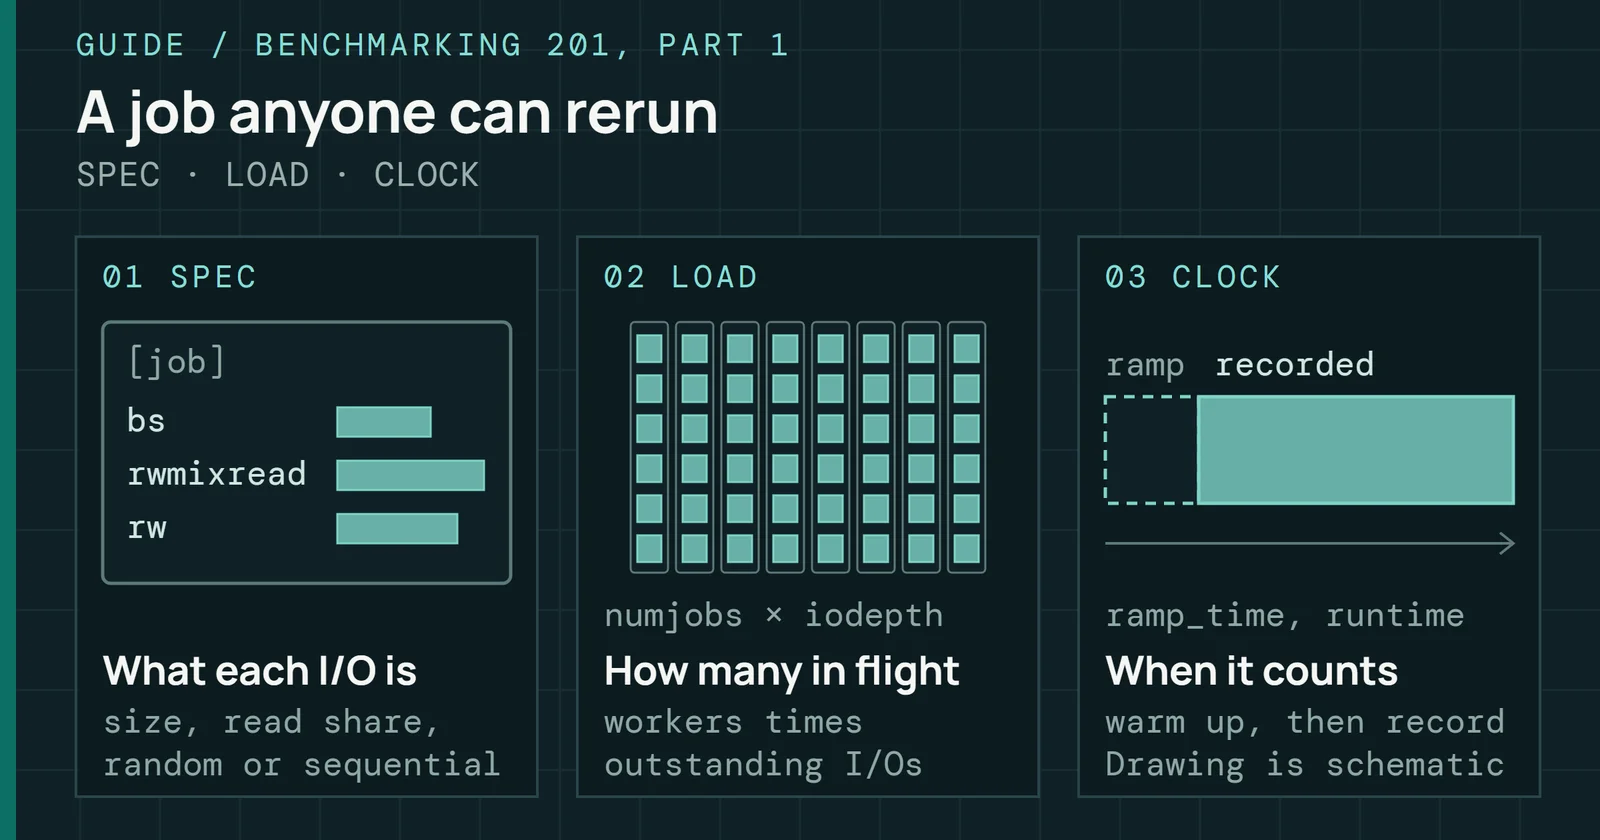
The lockdown protocol under it is written up in the first part of my benchmarking guide, and the sustained-write runs described here are the test behind the drive results in Flash Myths, Tested. The question this page answers is what it takes to make one result something you can repeat on a second machine.
A result is a claim
A benchmark number is a claim, and my job was to check it. Before a drive earned a line in a report, it had been written to for hours, its power draw had been captured, its temperature had been measured with a probe instead of taken on the drive’s word, and, if it had a fan, its noise had been measured too. Then it went through the same steps on another system, because a result that only shows up on one machine isn’t a result yet.
A single run tells you what one drive did on one afternoon, on one host, in one thermal state. It says very little about what the next unit will do, or what the same unit will do after a firmware change. When I ran quality at an SSD company, most of the questions I had to answer were comparisons between this firmware and the last one, this controller and that one, or this batch and the golden sample.
A result is a claim
A number reaches the report only after a second system agrees
Comparisons only work when everything except the thing you changed is held still. So I stopped treating each product as a fresh project and ran every one through the same steps in the same order, on whatever system was in front of me. I have left out product names and customer details on purpose.
The shape of a run
Each device under test got a folder, and each folder had ATTO, CrystalDiskMark, DiskBench, Power, SMART, UL and WS (write saturation) subfolders. Benchmarks from UL’s PCMark 10 and 3DMark Storage went in the UL folder, and the SMART folder held the drive’s health data from before and after the run.
Each run was split into phases. When a phase finished, a small marker file was written with the text “Benchmarking Completed Successfully: Phase N”. There were nine phases for most products and ten for some. Those markers did two jobs: you could tell at a glance how far an interrupted run had got, and the timestamps gave me a free record of how long each run took.
The shape of a run
The median run took 5.5 hours, and most sat close to it
59 complete runs, first phase marker to last
Going back through those markers, I can see a clear story in the timestamps. Across dozens of complete runs, the median time from the first marker to the last was 5.5 hours, and the middle half finished between 5.3 and 5.7 hours. That spread was tight because the plan was scripted and the phases didn’t change.
Lock the system down first
Before a single data point counted, the system had to be locked down. I wrote the full protocol up in SSD Benchmarking 101. In short, the drive under test was never the boot drive, antivirus was off or excluded the drive, search indexing was off, the power plan was High Performance with PCIe ASPM off, and updates were paused. Testing whether it worked was simple. Run the same test three times, and if you get three different numbers, the system isn’t locked down.
Lock the system down first
Six things stayed fixed, and one test showed they held
Locking it down went deeper than Windows. A BIOS revision can change the output, so the BIOS version was part of the record and stayed put for the length of a comparison. A board that took a BIOS update halfway through was a different system from the one that produced the earlier numbers.
Built by hand
None of this had SI behind it. There was no test framework and no scheduler either. Everything ran on Iometer, batch files, Performance Monitor and spreadsheets, and I wrote and debugged every piece by hand, solving one problem at a time.
Built by hand
One batch file line runs one step, and the line order is the plan
Iometer did the work, driven from the command line. One line runs one step. It loads a configuration file and writes a results CSV, like Iometer.exe /c WS-1hr.icf /r WS-1hr.csv. A batch file chained those lines together, and the order of the lines was the test plan.
Write saturation, then idle recovery
I cared most about the write-saturation test, because it is where drives stop looking like their spec sheets. I kept the configuration simple on purpose. It runs in Iometer 1.1.0 with 100% sequential writes in 1 MiB transfers, aligned to 1 MiB, with a random data pattern and one worker. The main version keeps 32 I/Os outstanding, and as I remember it a separate queue-depth-1 version kept one. It targets the raw disk with no file system in the way, so the drive fills block by block and file system behavior can’t color the result. There is one configuration for each duration, 15 minutes and 30 minutes, then one hour, two hours, four hours and eight hours.
Here is one run on one 2 TB external SSD, a 75-minute Iometer run from October 2022. For the first five minutes it writes at 1.78 GB/s. Then it falls off a cliff to about 0.17 GB/s. That is a drop of roughly 90%, and it stays there for the rest of the 75-minute run. That is 539 GB of fast writing, and the drive never went back to that speed during the run.
Write saturation, then idle recovery
After about 539 GB the drive fell from 1.78 GB/s to about 0.17 GB/s
2 TB external SSD, sustained 1 MiB sequential writes, 75 minutes
After the saturation run came the interesting part. My script followed it with a sequence of idle gaps, and after each gap a five-minute write burst:
- Idle for 30 seconds, then write for five minutes.
- Idle for one minute, then write for five minutes.
- Idle for five minutes, then write for five minutes.
- Idle for 30 minutes, then write for five minutes.
Idle gaps were Iometer steps too, so the same tool timed every wait and logged it the same way. Every step wrote its own CSV, named for the step it belonged to, so a result could be traced to a phase without opening the file.
Here is what the same drive did after each rest. Each panel is the five-minute write burst that followed the idle gap, drawn on the same scale.
Write saturation, then idle recovery
A longer rest bought back more fast writing, but not all of it
The same 2 TB external SSD, five-minute write burst after each rest
That sequence is a direct measurement of recovery. Once a drive’s fast write region is exhausted, its write speed drops to whatever the flash and controller can sustain. How much speed comes back after a short rest tells you how quickly the firmware reclaims that fast region and how much background work it has to do first. Two drives with the same steady-state number can behave very differently in that test, and a firmware update can change the answer without changing anything on the spec sheet.
| Run | Time at full speed | Data written at full speed |
|---|---|---|
| Fresh drive | 302 seconds | about 539 GB |
| After a 30-second rest | none | 0 GB |
| After a 1-minute rest | about 29 seconds | about 51 GB |
| After a 5-minute rest | about 108 seconds | about 192 GB |
| After a 30-minute rest | about 164 seconds | about 293 GB |
That drive shows how slowly recovery comes. After a 30-second rest it could not write anything at full speed. After a minute it managed about 51 GB, and after five minutes about 192 GB. Even after a full 30 minutes it only got back about 293 GB, a little over half of the 539 GB it wrote at full speed on a fresh drive. The longest rest in the plan was 30 minutes, so I cannot say how long a full recovery takes.
What made it hard
My first enemy was the operating system. In the copy and read-back tests, anything just read or written gets cached in RAM, so the next run comes back faster and you are measuring memory instead of the drive. Numbers looked great and meant nothing. Housekeeping was the fix. I restarted between runs, ran TRIM, and rebooted the system several times to make sure the caching wasn’t creeping back in. I also cleared the drive after every power restart, so each pass started from the same clean state and nothing carried over from the last one.
Scripts had their own limits. Iometer configuration files are tied to a machine. Each one carries the name of the host and the number of the disk it writes to. Moving the plan to another system meant editing every file, and the disk number was the part that couldn’t go wrong, because a raw write test pointed at the wrong disk writes over whatever lives there. So the plan lived in separate folders by disk number, and the host name in each copy had to match the system in front of me. Across tens of systems, keeping track of which copy belonged to which machine was a job of its own.
What made it hard
Each problem the plan hit got one fix that stayed in the plan
A batch file also has no judgment. It runs the next line whether or not the last one worked, so a failure early in a long run could burn hours before anyone noticed. Phase markers let me see how far a run really got.
Performance Monitor gave me the host’s side of the story. I kept a short step-by-step for it. Build a data collector set, start and stop it with the run, load the data afterward and save it as CSV, so the host’s view could sit next to the drive’s.
Fill, copy and real files
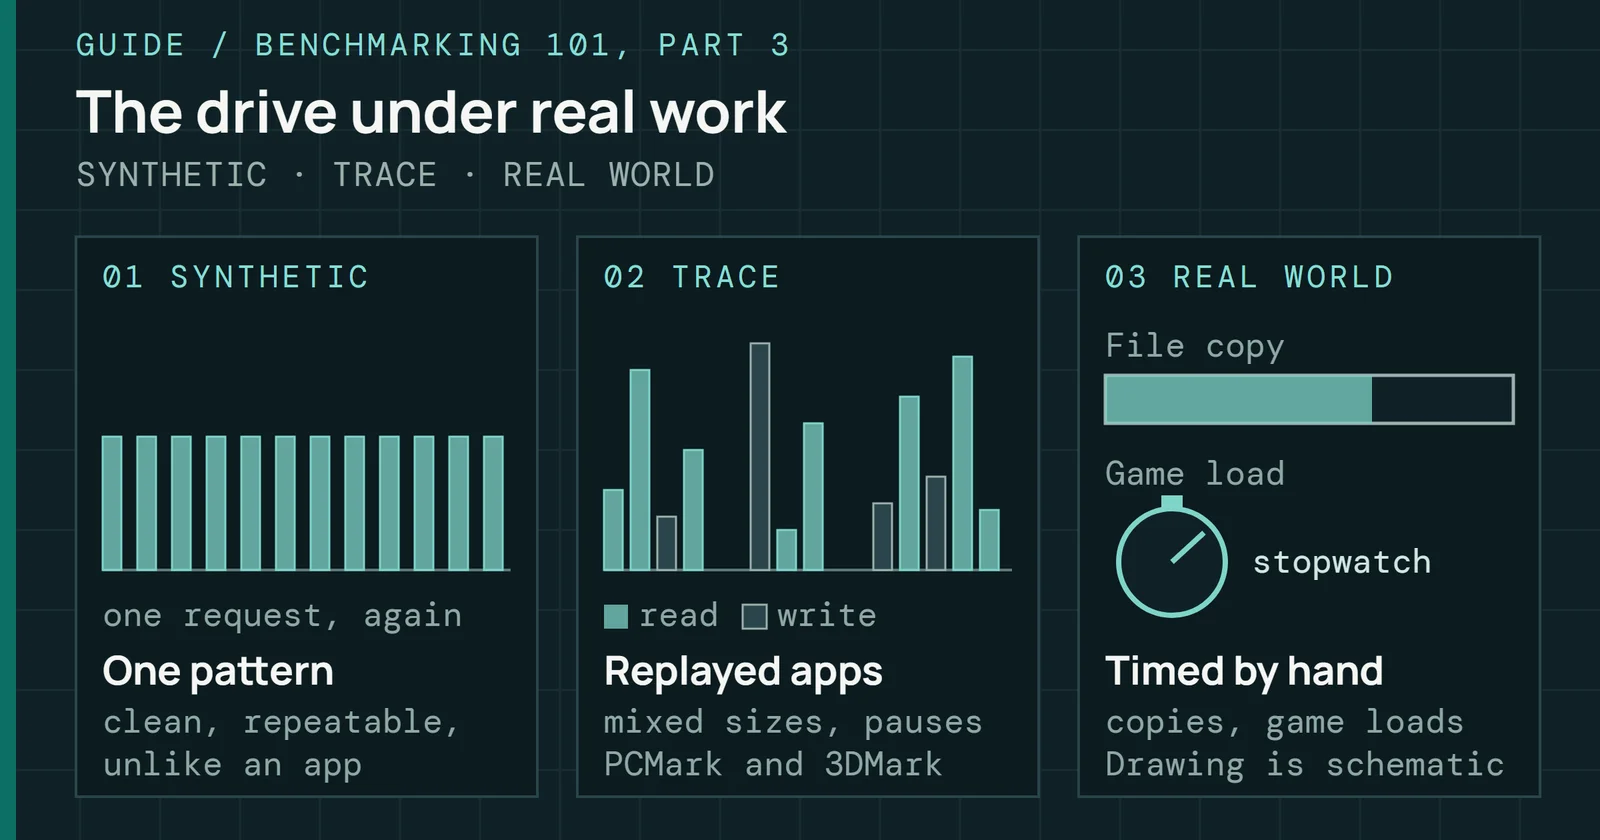
Synthetic tests don’t exercise what a person does with a drive, so the plan also moved real data. DiskBench copied a fixed 50 GiB folder of many files onto the drive and logged the result. One log shows 31,227 files and 53.7 GB copied in about 30.5 seconds, or roughly 1.76 GB/s. Since the source folder never changed, any difference between two runs came from the drive, the firmware or the host, and none of it from the data. Keeping the copy numbers honest took more work than running the copy, as I described above.
Fill, copy and real files
The same 50 GiB folder went onto each drive, so the drive set the time
One logged DiskBench copy
Power, measured with the right gear
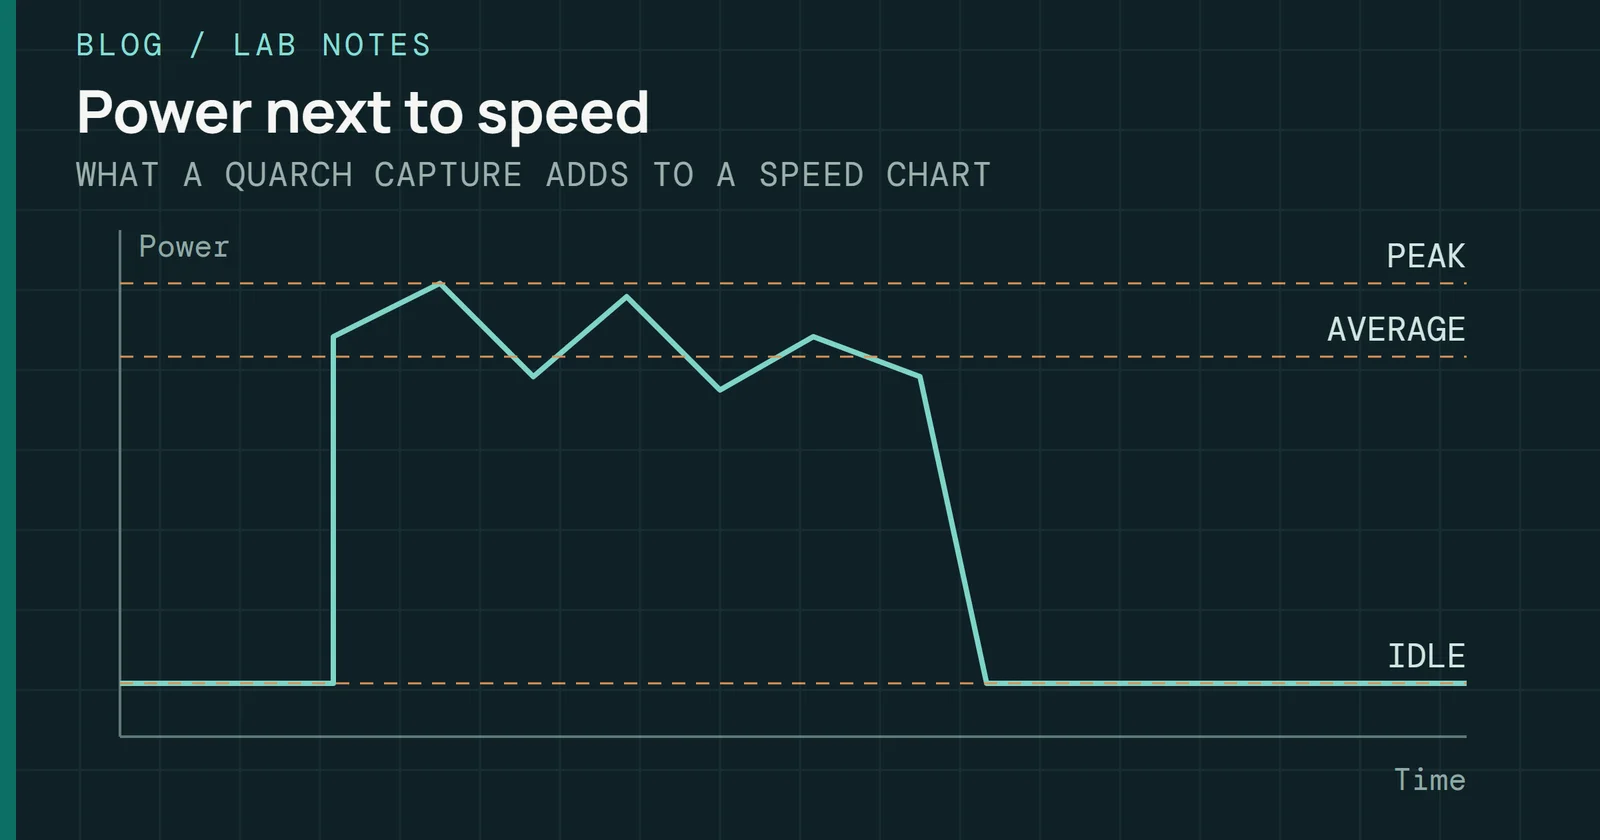
Performance without power is half a result, especially for bus-powered enclosures where the port sets the budget. I measured it with Quarch hardware, starting with the HD PPM and moving through several variants of their modules over the years. Software changed along with the hardware, from Test Monkey to Quarch’s newer Power Studio. Every run stored the rail voltages, currents and total power as CSV files beside the benchmark results.
A firmware revision on an 8 TB drive
In April 2022 I captured the same drive on old and new firmware, with CrystalDiskMark set to two passes per test. The two builds differed by about 0.26 W on average across the CrystalDiskMark runs, and the peak was 9.89 W on the old build against 9.59 W on the retail one. Neither figure is dramatic, and the reason to record them is that a bus-powered enclosure has very little headroom to give away.
Four 4 TB drives at PCIe 4.0 speeds
In a November 2025 comparison, average power during CrystalDiskMark ran from 1.9 W to 3.9 W across the four, with peaks from 3.8 W to 9.0 W. Each drive has one Quarch capture of one CrystalDiskMark run, two passes at 1 GiB. For a bus-powered design, the gap between average and peak is the number that matters, and only the CSV shows it.
Power, measured with the right gear
Peaks ran well above the average on all four 4 TB drives
CrystalDiskMark at PCIe 4.0 speeds, drives unnamed
Heat, noise and a multimeter
A drive’s own temperature sensor tells you what the controller thinks and says nothing about what the board is doing, so I measured it myself. An Amprobe TMD-50 with a K-type thermocouple gave me a real contact reading. Handheld IR thermometers were the fast way to scan a whole board, with one catch. Infrared readings on shiny surfaces such as bare metal heatsinks can be off, so the thermocouple was the check on the IR gun.
Anything with a fan got a decibel meter, because noise is a spec the customer hears, and an enclosure that is quiet at idle can be a different product under load. Multimeters covered the simple questions that need no software at all, like what voltage is actually arriving at the drive.
Heat, noise and a multimeter
Four hand instruments checked what the drive could not report
The report every run had to fill in
Last came the report. Every product report used the same template, which ran through interface, controller and flash, test system, devices under test, task list, results, suggestions and a summary. For an SSD, the task list was burst performance, sustained performance, a power check and a temperature check. Enclosures and readers added SMART and TRIM checks and, where it applied, macOS testing.
The report every run had to fill in
Every product report used the same eight sections in the same order
I never worked on a single bench. I ran this on tens of systems at a time, across different chipsets, CPUs and PCIe generations. Intel and AMD desktops across several chipset generations, with DDR4 and DDR5, were among them, and so was macOS testing. That plan stayed the same on every one, so a result that only appeared on one host could be recognized as a host result and not a drive result.
Side-by-side comparison workbooks sat in their own folder and covered controller against controller, power against power, sustained write against sustained write. Putting two products in one table is what turned raw results into a decision.
Why it worked
A repeatable plan like this earns its keep by making change visible. Run the same phases before and after a firmware revision, and any shift in idle recovery, power draw or sustained speed shows up against numbers you already trust, on the same platform, with the same files.
Why it worked
The same phases before and after a change make the shift visible
Schematic bars, not measured values
It also changes what an outlier means. Once you know what normal looks like, a drive that misbehaves stands out at once. You can start on why instead of arguing about whether the test was fair. And when a problem turns up that the plan didn’t cover, the fix is to add the missing phase, so the same surprise can’t get through twice.
Sources
Primary is the original paper, standard or datasheet. Secondary is a review, a vendor summary or a news report. Measured is my own test data.
Show all 1 sources
- MeasuredThe author’s own measurements