Every chip in an SSD, a stick of DRAM, or a GPU is built up in layers on a disc of silicon, and almost every one of those layers starts with a picture. Photolithography projects that picture onto a light-sensitive coating on the wafer. Lines, holes, and shapes make up that picture. Where the light lands, the coating changes. Later steps etch, fill, or dope the wafer only where the pattern says to. Repeat that for each layer and the result is a chip with billions of transistors wired together.
Photolithography
Photolithography, Part 1: How a Chip Is Printed With Light
How a chip is printed with light: resist, masks, steppers and scanners, the wavelengths from mercury lamps to EUV, and how layers line up within a nanometer.
On this page 9 sections
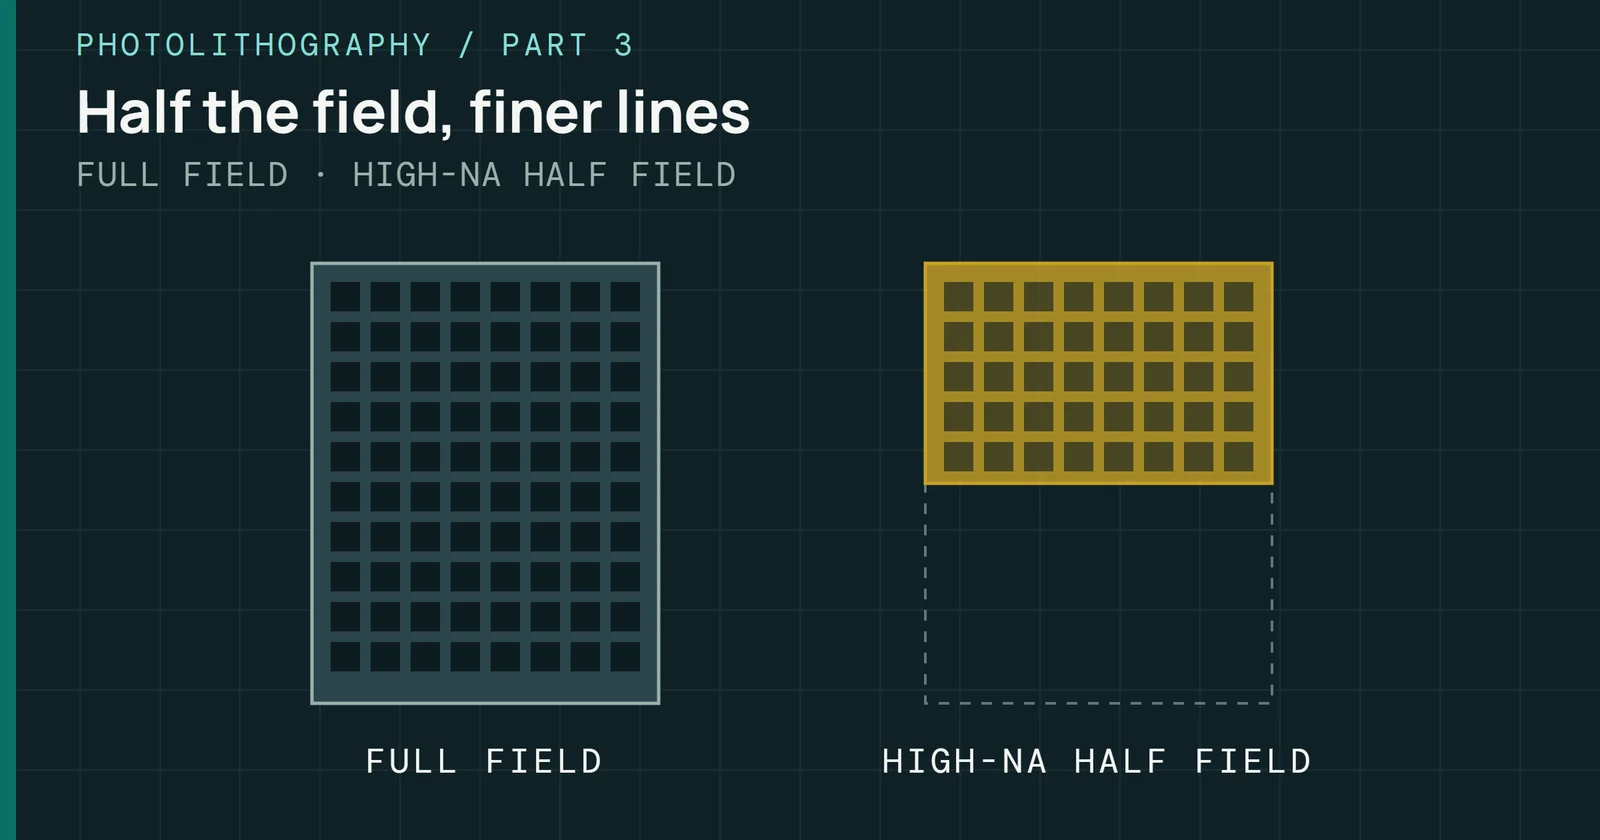
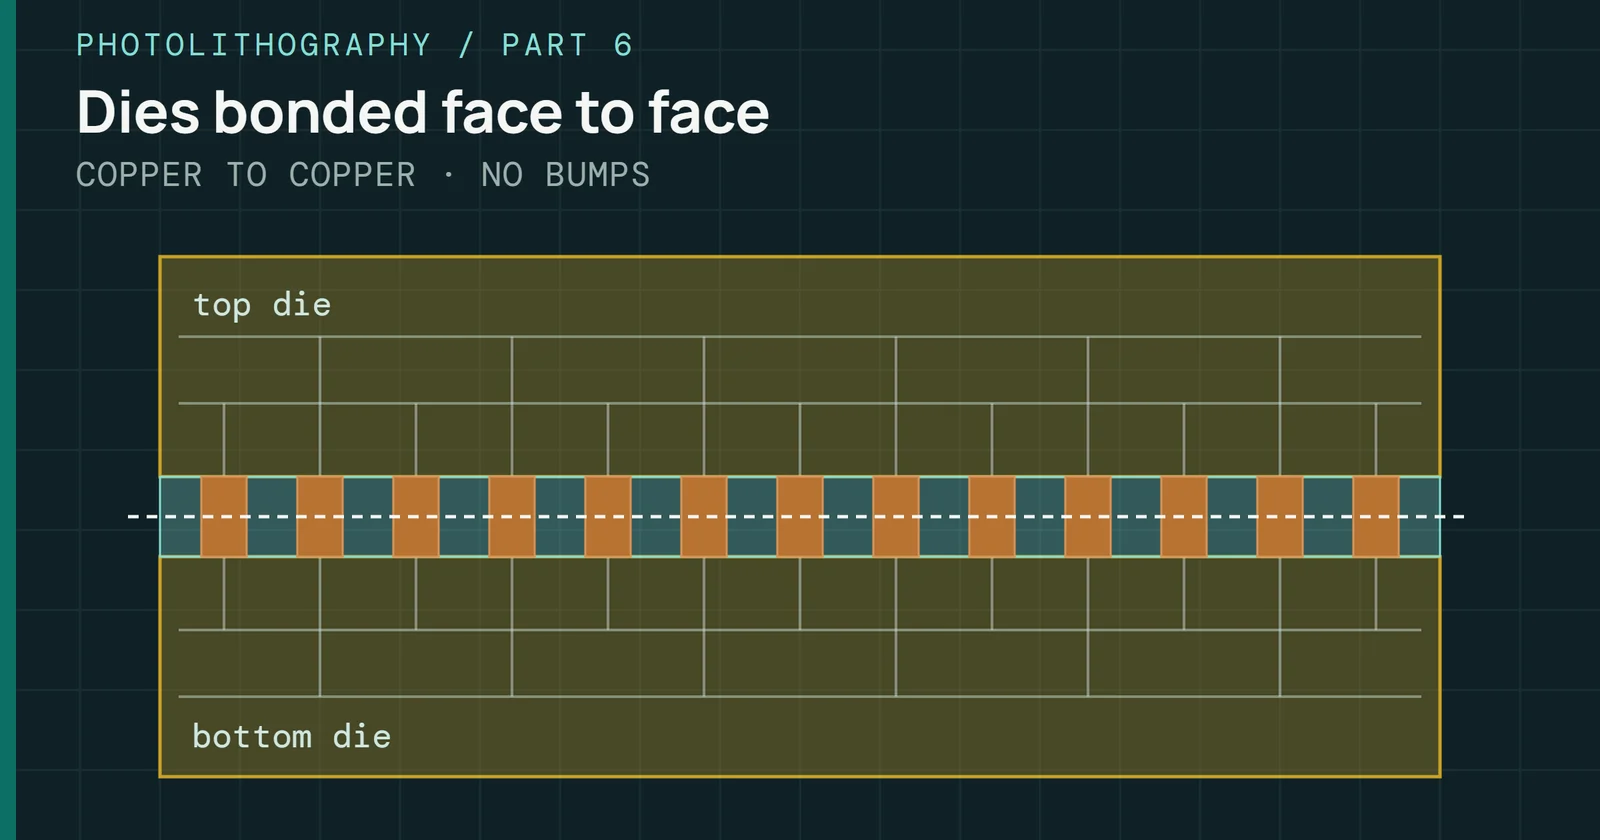
This series explains how that printing works and why it decides how small, how dense, and how expensive a chip can be. This part follows one layer from blank film to finished pattern, and shows what limits how small the pattern can be and how well it lines up with the layer below. Part 2 goes deep on resolution, from Rayleigh’s equation to extreme ultraviolet (EUV) light. Part 3 covers EUV with a wider lens, called High-NA, and what lithography means for DRAM and 3D NAND. Part 4 follows a NAND die through test, from wafer sort to qualification, Part 5 is CoWoS, and Part 6 is the rest of advanced packaging. Fab Tracker holds the year-by-year history of the tools and who bought them.
A figure from a tool maker is that maker’s claim, and the sentence that uses it says so.
What lithography does
A chip is not printed in one pass. It is a stack of layers, each a thin film of conductor, insulator, or semiconductor with its own pattern, and lithography sets the pattern of each one. ASML’s overview of the manufacturing steps says a chip is made of dozens of layers and goes through the cycle of deposition, resist, exposure, etch, and implant hundreds of times before it is finished. For the memory this site covers, a 2020 TechInsights talk, as SemiWiki wrote it up, put the average mask count for 3D NAND at 42 in 2017 and projected 73 for 2025. For DRAM it saw mask counts jump between the 2x and 2y generations (DRAM generations are labeled by active half-pitch), driven by performance and power requirements, and the write-up gives no total.
Each pass starts with deposition, which lays a thin film over the whole wafer. A light-sensitive polymer called photoresist (resist for short) is spun on top and baked. An exposure tool then projects the mask’s pattern onto the resist and changes its chemistry wherever light lands. A second bake finishes that reaction, and a developer washes away the resist that should not stay. The resist that stays is a stencil. Etch removes the film where the stencil is open, or an ion implanter dopes the silicon there, and then the leftover resist is stripped off. Once the surface is polished flat, a step later in this part covers, the wafer is ready for the next film and the next pattern.
What lithography does
The lithography cycle for one layer
Only one of those eight steps happens inside the lithography machine, and it sets how small anything on the chip can be. Other tools on the fab floor handle the rest, and they include deposition chambers, coater and developer tracks, etch and implant tools, polishers that flatten the wafer between layers, and metrology systems that check each step. A chip generation that needs finer lines puts the exposure under pressure first, but resist, etch, and measurement all have to keep up.
Coat, bake, develop, etch
Everything is printed on a wafer. Shin-Etsu starts from polycrystalline silicon of 99.999999999% purity, grows it into a single-crystal ingot 300mm across and longer than 1m, then slices and polishes it into wafers. ASML’s steps overview picks up from there. A film of the material for the first layer is deposited, and then the resist goes on.
Resist is a polymer dissolved in solvent, and it is spun on. EPFL’s cleanroom guide describes the sequence its tools use, and the numbers give a sense of scale. A few milliliters are dispensed at the wafer’s center, spread at 500 to 1,000RPM and thinned at 1,000 to 6,000RPM. Wafers are dried and primed before coating, often with hexamethyldisilazane (HMDS) vapor at 120°C to 150°C, so the resist sticks. After coating the film still holds 20% to 40% solvent by weight, and a soft bake of a few minutes at 90°C to 120°C takes that down to 3% to 8%. In production these steps run in a coater and developer track wired straight to the exposure tool.
Coat, bake, develop, etch
One layer through the cycle, in cross-section, with positive resist
Exposure is where the pattern enters. Resist comes in two tones. A positive resist becomes more soluble where light hits it, so the developer removes the exposed areas and the window opens where the light fell. A negative resist cross-links where light hits it, so the exposed areas harden and the unexposed parts wash away. Positive resist is the one most used in chipmaking, because it resolves finer features.
Each wavelength of light needs its own resist chemistry, because the resist has to absorb at that wavelength and stay clear enough for light to reach the bottom of the film. EPFL’s guide traces the generations. Kodak’s negative KTFR was the first commercial resist for integrated circuits. It was phased out from 1972 because it could not print much below about 2µm, and positive novolak resists replaced it. Deep ultraviolet (DUV) resists switched to polyhydroxystyrene. Resists for the 193nm argon fluoride (ArF) laser are much more varied, and their backbone is usually a methacrylate combination. Chemical amplification was first developed for DUV and was the big change. One absorbed photon releases an acid, and in the post-exposure bake that acid catalyzes many reactions rather than one. That makes the second bake matter for these resists. Part 2 picks up the chemistry.
Development uses an aqueous base, applied as a puddle or a spray. Microelectronics favors tetramethylammonium hydroxide (TMAH), because EPFL cautions that the potassium and sodium bases carry metal ions that may not suit it. Development is not perfectly selective, and EPFL puts the loss at about 10% of thickness from the unexposed resist. The next tool works only on the areas the resist stencil leaves open. Dry etch uses a plasma to remove the film wherever the stencil is open, and wet etch does it with a chemical bath. Or the open areas are bombarded with ions to change how the silicon conducts. Then the resist is stripped, by solvent or by an oxygen plasma that turns the polymer into volatile carbon oxides and water, and the wafer leaves for its next film.
Etch is not an afterthought, because ASML credits advanced etch with making double, quadruple, and spacer-based patterning possible. Some of these schemes expose the layer more than once, and spacer schemes print one pattern and use deposition and etch to split it into finer ones. Part 2 covers them. For 3D NAND, where the hard part is etching holes through a tall stack rather than printing them, see Flash Foundations.
The mask
Each layer’s pattern lives on a photomask, often called a reticle in the exposure tool. Photronics is an independent mask maker, and its annual report describes the product as a high-precision quartz or glass plate carrying microscopic images of circuits. Conventional masks block or pass light with a patterned opaque film, which is usually chromium. EUV masks work differently. They reflect or block light, because nothing is transparent at EUV wavelengths.
Masks come in sets, one per patterned layer. Photronics lays out how each is made. The customer’s design data is converted into pattern data for the writer, an electron beam or laser lithography system exposes that pattern onto a blank, and the blank is developed and etched so the pattern is fixed in the opaque film. Each mask is then inspected against the design, repaired where it has defects, cleaned, fitted with a pellicle, and inspected again before it ships. A pellicle is a thin membrane held just below the pattern that catches particles which would otherwise cling to the mask and print on every chip. Speed matters too. In some orders the first layers of a new design are due within 24 hours of the data arriving, according to Photronics’ filing.
A mask is bigger than the pattern it prints. Most scanners shrink the image by 4x, so every feature on the mask is four times the size it will be on the wafer. That eases mask making, and a speck or a writing error on the mask shrinks along with the pattern. Today’s standard exposure field on the wafer is 26mm by 33mm, according to the 2025 lithography chapter of the IEEE International Roadmap for Devices and Systems (IRDS). At 4x, that field covers 104mm by 132mm of the mask.
The mask
A mask pattern shrinks four times onto one field of the wafer
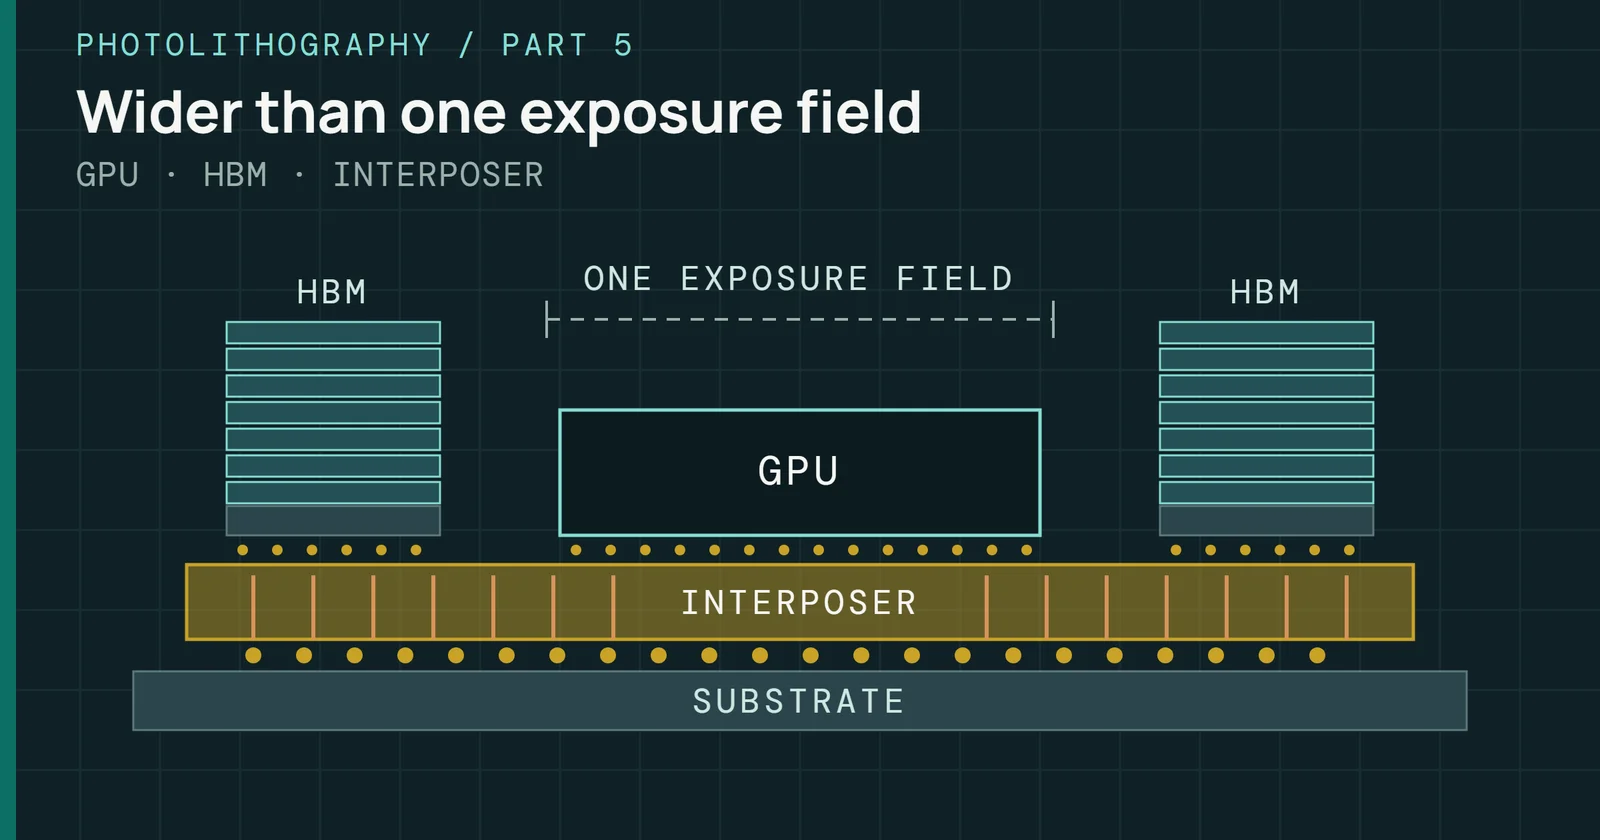
A 300mm wafer holds 63 full fields on the figure’s grid and 44 partial ones at the edge. A field can hold one large die or many small ones. A GPU that fills the field is printed once per field, while a small controller might be printed many times inside each field from a mask that repeats it. Field size also sets the biggest die anyone can print in one exposure. That reticle limit is where Part 5 starts. CoWoS is one answer to SI chips that outgrew it.
A mask pattern is also not the shape the designer drew. Particle interference, refraction, and other physical and chemical effects distort the printed image, so the pattern has to be deformed on purpose. ASML calls this computational lithography, and its models combine algorithms with data from its systems and test wafers. A blueprint may look different from the pattern it prints, and that is the point. Masks are also moving toward curved shapes produced by inverse lithography, the IRDS adds, which makes mask data larger and is driving wider use of multi-beam mask writers.
Steppers and scanners
Mask aligners are the oldest way to expose a wafer. They press a mask against it, or hold it just above, and flood it with ultraviolet light. EPFL dates the first commercial one to 1965, from Kulicke & Soffa. They print a 1:1 image, which can be no finer than the mask itself, and they are still used in research and small production.
Steppers evolved from mask aligners. A stepper holds the mask well away from the wafer and puts a projection lens between them that shrinks the image, usually by 4x or 5x. Each shot exposes one field, then the stage steps the wafer to the next field and the shot repeats until the wafer is covered. EPFL dates the first commercial stepper to 1975, from GCA. In the early 1980s Japan’s chipmakers began to catch up, and Nikon and Canon rapidly took over the market from US companies. First-generation steppers used the 365nm i-line of mercury lamps and printed features down to about 350nm. Latest-generation steppers use a krypton fluoride (KrF) laser at 248nm and reach about 110nm. ASML scanners carried both wavelengths further, to 220nm and 80nm, as the light section shows.
Scanners changed how the field is exposed. EPFL dates the first DUV scanner to Nikon in 1995. Instead of lighting the whole field at once, a scanner lights a narrow slit and sweeps the mask and the wafer through it in opposite directions, perfectly synchronized. Only the central part of the lens does the imaging, which let lens makers raise the numerical aperture and print finer features. Because the mask pattern is four times larger than its image, the reticle stage must cover four times the distance of the wafer stage, and so move four times as fast. ASML rates the reticle stage at close to 16g and the wafer stage at up to 7g, and that peak acceleration is rated separately from the four-times distance and speed.
Steppers and scanners
Steppers flash a whole field, scanners sweep a slit across it
Drawings not to scale.
Scanner time sets how many wafers a fab can turn out, so the motion is extreme. One ASML machine can load a wafer, print the pattern in almost 100 places on it, and unload it as many as 275 times an hour. That is a general ASML figure with no model named. The company rates its KrF NXT:870B dry scanner at 400 wafers an hour. To keep that pace without losing accuracy, ASML’s TWINSCAN design, introduced in 2000, carries two wafers on two tables. While one is exposed, the other is measured by the metrology sensors. ASML’s NXT platform from 2008 put the tables on magnetic levitation, and the stage position is measured about 20,000 times a second to about 60pm, less than the width of a silicon atom.
Optics are their own machine. ASML’s highest-resolution DUV optical systems are more than 1.2m tall and weigh more than a metric ton, and since the late 1980s all of ASML’s optics have come from its partner ZEISS. Heating by the light changes the glass by millikelvins and the image by nanometers, and ASML calls that still enough to produce defective chips, so thousands of actuators adjust the lens elements to compensate.
Light, lenses, and the resolution limit
How small a scanner can print comes down to one relation, which ASML calls the Rayleigh criterion. A scanner’s smallest printable feature is the critical dimension (CD):
CD = k1 × λ / NA
In that relation, λ is the wavelength of the light, in nanometers. NA is the numerical aperture of the optics. It measures how much light the lens can collect. k1 is a factor that gathers up everything else in the process: resist, mask tricks, and illumination. Neither NA nor k1 has a unit. ASML puts the physical limit of k1 at 0.25. There are three ways to print smaller: use shorter light, build a wider lens, or run a cleverer process.
Light, lenses, and the resolution limit
Lithography wavelengths, from mercury lamps to EUV
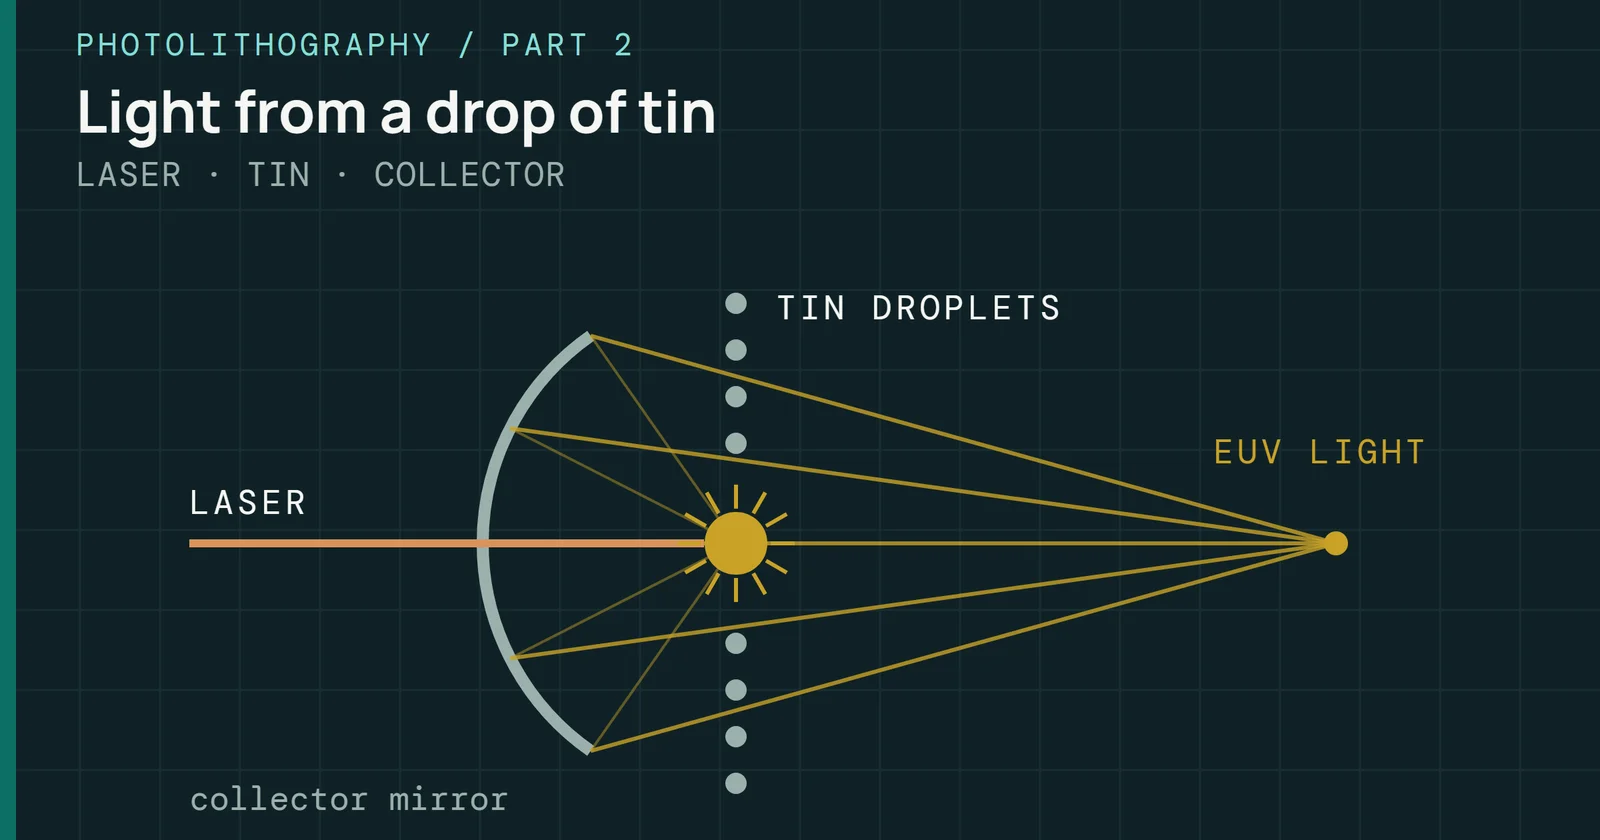
The wavelength came down in named steps, and each step was a new kind of light source. ASML’s first systems used the 436nm g-line of a mercury lamp and printed features down to 1µm. Next came the 365nm i-line, which later reached 220nm. Excimer lasers followed. KrF at 248nm now prints down to 80nm, and ArF at 193nm took features down to 38nm. Water immersion raised the numerical aperture to 1.35. Then came EUV at 13.5nm, made by firing lasers at molten tin. EUV is absorbed by everything, even air, so EUV scanners run in vacuum and use mirrors instead of lenses. Their numerical aperture is lower than immersion’s, 0.33 before High-NA raised it to 0.55, but the far shorter wavelength wins. Part 2 tells that history in full: the lasers, immersion, the tin source, and each term of the equation.
Not every layer needs the finest light. ASML’s DUV systems page notes that a given chip may have one or two of its more complicated layers made on an EUV machine, while the rest can often be printed on older dry systems. That mix helps explain why the older tools in Fab Tracker stay in use.
Lining up the layers
Printing a fine line is only half the job. Each layer has to land on the one below it, so a contact meets the line it is meant to touch and a gate sits over its channel. ASML calls how well two layers line up overlay. For DRAM, the IRDS expects overlay to bring bigger challenges than resolution as the technology progresses, and it lists overlay of 1.6nm or better among the process-control needs of High-NA EUV, which Part 3 covers.
Lining up the layers
Overlay error and the loop that corrects it
Overlay errors have many sources, and ASML’s overlay story walks through them. A wafer may sit slightly off before printing. Lenses have tiny imperfections that distort different parts of the field differently, and heat from the light changes that distortion over time. Each scanner has its own distortion fingerprint, and layers of one chip are often printed on different scanners, because the first layers have the smallest features and go to the newest tools. ASML expects that more and more cutting-edge chips will have their first few critical layers printed with EUV, so EUV and DUV machines will have to match each other too.
Correction means measuring, then distorting on purpose. Scanners read alignment marks on the wafer before exposing it, and on the NXT:2100i ASML went from 4 colors of alignment light to 12 and added more marks. After exposure, metrology tools read overlay targets across the wafer and software builds a map of the errors on a grid. Then the scanner bends its image to cancel them on the next wafer, through stage moves and manipulators that reshape the lens. ASML credits the NXT:2100i’s new hardware and software with improving single-machine overlay by up to 10%, to 0.9nm, and matched-machine overlay by 13%, to 1.3nm. In a separate ASML test of a prototype lens manipulator, a measured mismatch of about 0.65nm between two layers came down to about 0.3nm after correction. For scale, ASML rates the older i-line XT:400M scanner at 20nm overlay or better across the wafer.
Measurement is its own industry. ASML’s YieldStar systems usually sit in the production line and shine light on repeating metrology targets. How the light diffracts tells them how well the layer printed, including its overlay and its focus, and they measure quickly enough to loop corrections back to the scanner. Electron beam tools see far finer detail, down to 1nm, but scan slowly, so they are aimed at likely trouble spots. ASML’s eScan 1000 first shipped in May 2020 and uses a 3x3 array of beams that raises throughput by about a factor of nine. Inside the scanner, hundreds of sensors feed the corrections, and a single ASML system can generate up to 31TB of sensor data a week.
That inside view matters most for 3D NAND. Many metrology systems cannot see into a tall stack of layers, ASML points out, so 3D NAND production leans on the scanner’s own data to keep alignment and overlay under control. Flash is different. The IRDS finds that it now scales by stacking structures with relatively large dimensions, so it does not need higher resolution patterning to make progress. Part 3 covers that alongside DRAM’s move to EUV.
Between layers: polish flat, wire in copper
A chip is a stack of patterned layers, and each new layer has to start on a flat surface. An IEEE Spectrum history of the step tells how IBM ran into that limit. After two or three layers of wiring, the surface had grown so bumpy that focusing a pattern on it was like projecting a slide onto a crumpled newspaper. Without a way to flatten it, a chip could carry only one or two layers of wiring above its transistors.
IBM’s answer was chemical mechanical planarization (CMP). A round pad presses on the wafer while a chemically reactive slurry full of abrasive particles grinds the high spots away, and the wafer comes off flat enough for the next layer to be printed.
Polishing also made copper wiring possible. By 2000, chip makers were moving their wires from aluminum to copper for a 60% gain in conductivity, Spectrum reports. Aluminum was patterned the way this part describes, laid down as a film and etched away where it was not wanted.
Copper is inlaid instead, starting from the insulator, which goes down first. Lithography and etch carve trenches for the wires and holes for the links to the layer below. Electroplating then fills the trenches and holes and leaves a micrometer-thick mound of copper over the whole wafer. CMP polishes that copper back to the insulator, so metal is left only where the pattern put the trenches, and the stop motion on the series page places that polish between one layer’s film and the next coat.
Between layers: polish flat, wire in copper
Copper wires are inlaid, then polished flat
One wire and its link to the layer below; dashed parts come later or are polished away
The polish stops at the insulator, so the next layer starts on a flat surface with copper left only in the trench and the via beneath it.
Who supplies the pieces
Scanners get the attention, but one exposure depends on a chain of specialists, and several links in that chain have only a handful of suppliers. ASML builds DUV and EUV scanners, and EPFL calls it the only supplier of EUV equipment. Nikon and Canon took much of the stepper market in the 1980s. ZEISS has made the optics inside ASML’s machines since the late 1980s. Everything else on the figure comes from other companies, and the scanner cannot print without them.
Who supplies the pieces
The suppliers around one exposure
A mask starts as a quartz blank, and for EUV the blank also carries the reflective coating the mask works by. AGC calls itself the world’s only maker of blanks that handles everything from the glass material to the coating. It began EUV blank research in 2003 and production in 2017, and when it announced an expansion of its blank supply it aimed for half the world market in 2025. Next the blank goes to a mask shop. Photronics’ 10-K names its merchant competitors as Dai Nippon Printing (outside Taiwan and China), Hoya, Taiwan Mask, Tekscend Photomask, LG Innotek, SK-Electronics, Compugraphics, and two Shenzhen makers, and it notes that chipmakers also run captive mask shops that make masks for their own use. That split has swung back and forth. Photronics’ filing traces a period when captive shops invested faster and took most of the market back, and a more recent move of work toward the independent merchants.
Pellicles are smaller still. Mitsui Chemicals has made pellicles since 1984, and in 2019 it licensed ASML’s EUV pellicle technology. In that announcement it called ASML the only maker to have developed EUV pellicles for commercial use. An EUV pellicle has to be thin enough to pass light that most materials absorb and tough enough to survive the heat inside the scanner. Part 2 comes back to that.
Beside the scanner, a track coats, bakes, and develops the resist and is wired to the scanner so wafers pass straight between them. Tokyo Electron’s profile puts its coater and developers among products with the top global share. ASML’s overview names Fujifilm Electronic Materials, Dow, and JSR as resist makers. Etch tools come from Lam Research, Oxford Instruments, SEMES, and others. All of them have to move with every lithography generation, so a new wavelength needs the whole chain. A new light source is useless until it has a matching resist, mask, and measurement tool.
Taken together, the single-source links suggest that the supply chain can matter as much to the next generation of chips as any new wavelength. EUV scanners have one seller. EUV blanks have one maker that calls itself complete. EUV pellicles had one commercial maker when Mitsui licensed ASML’s design in 2019.
Where Part 2 picks up
The equation near the start of this page has three levers, and Part 2 is about pulling each one. The figure below shows where the first two stand, with light at 13.5nm and a numerical aperture of 1.35 with water immersion and up to 0.55 for EUV optics with High-NA. The third is k1, whose physical limit ASML puts at 0.25.
Where Part 2 picks up
Three levers set the smallest feature: light, lens and process
Sources
Primary is the original paper, standard or datasheet. Secondary is a review, a vendor summary or a news report. Measured is my own test data.
Show all 26 sources, 24 primary
- PrimaryASML and Mitsui Chemicals Sign License Agreement for EUV pellicle businessNews release | MITSUI CHEMICALS, INC., 2019
- PrimaryIndistinguishable from magic: the EUV pellicleASML, 2022
- Primary6 crucial steps in semiconductor manufacturingASML, 2023
- PrimaryOverachieving with overlay controlASML, 2023
- PrimaryInternational Roadmap for Devices and Systems 2025: LithographyIEEE IRDS, 2025
- PrimaryPhotronics Form 10-K for fiscal year 2025U.S. SEC, 2025
- Primary3D reconstruction and etching profile simulation for wiggling active area effect in DRAM manufacturingCommunications Engineering (Nature Portfolio), 2026
- PrimaryAGC to Make Drastic Expansion to Supply System for EUVL Mask Blanks | News | AGCAGC
- PrimaryAll about light and lasers in lithographyASML
- PrimaryASML EUV lithography systemsASML
- PrimaryDevelopment of Photoresistsmicrochemicals.com
- PrimaryHow to Build a $20 Billion Semiconductor FabConstruction Physics
- PrimaryHow to measure the quality of a microchipASML
- PrimaryIntroduction to PhotolitographyEPFL
- PrimaryLenses & mirrors - Lithography principlesASML
- PrimaryMechanics & mechatronics at ASMLASML
- PrimaryRCA Critical Cleaning Processmicrotechprocess.com
- PrimarySee ASML's DUV lithography systemsASML
- PrimarySilicon WafersShin-Etsu Chemical Co., Ltd.
- PrimarySpin-Coating of Photoresistsmicrochemicals.com
- PrimarySPM Photoresist Stripping and Cleaningmicrotechprocess.com
- PrimaryThe ASML NXT:2100i lithography systemASML
- PrimaryTokyo Electron Corporate Profile (April 2026)Tokyo Electron
- PrimaryWhat is the Rayleigh criterion?ASML
- SecondaryNew Wafer Polishing Keeps Moore’s Law on Track For Future ChipsIEEE Spectrum, 2005
- SecondaryLithoVision - Economics in the 3D EraSemiWiki (TechInsights), 2020